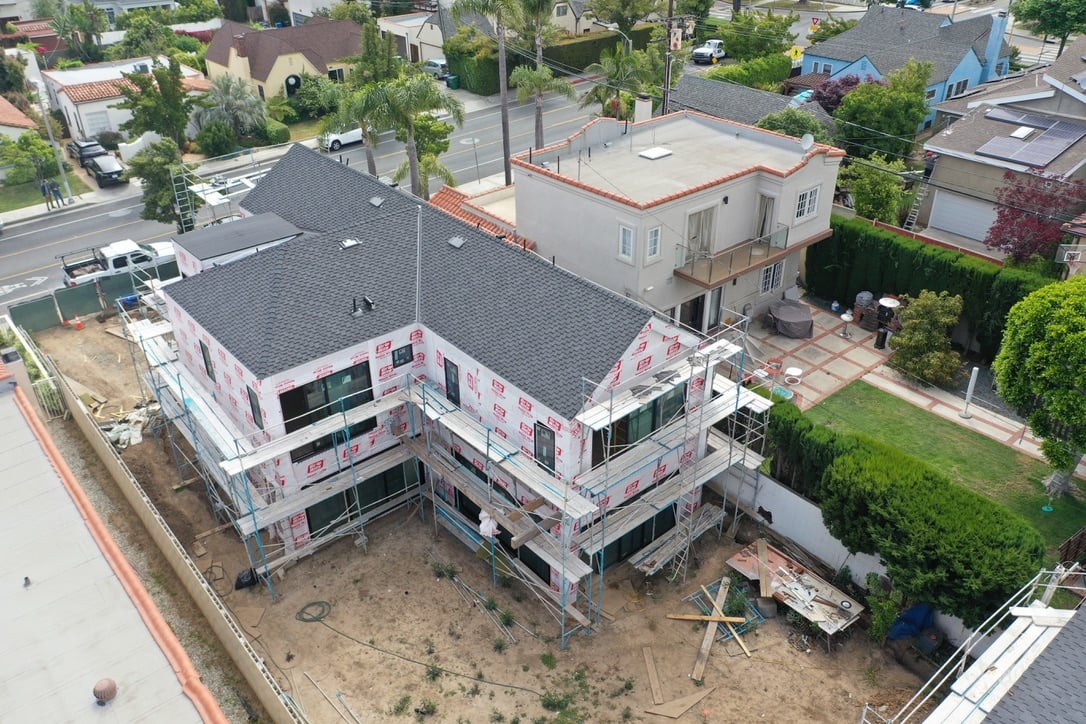
Selling a home near the beach is different. Salt air, strong sun, and compact footprints can work for you or against you. If you want top dollar in Santa Monica, staging needs to highlight light, views, and easy indoor-outdoor living while minimizing signs of coastal wear. In this guide, you’ll get practical, step-by-step advice built for our shoreline climate, plus checklists, timing tips, and local rules to keep you on track. Let’s dive in.
Why coastal staging matters in Santa Monica
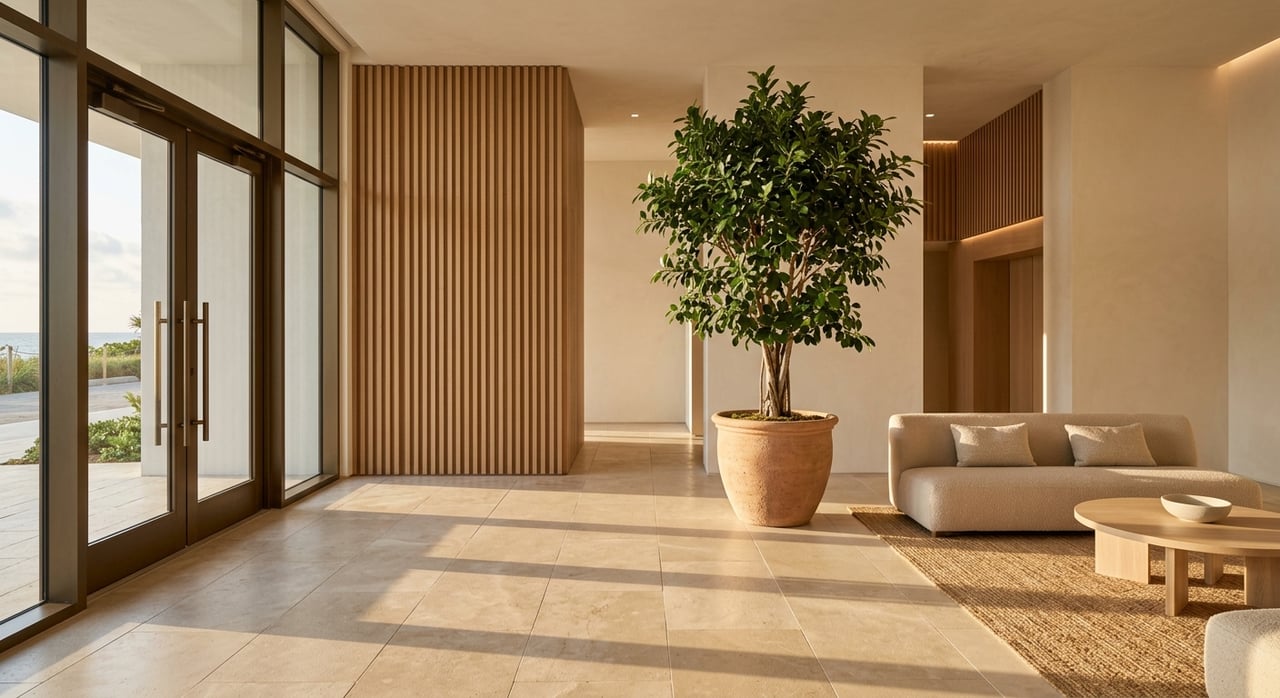
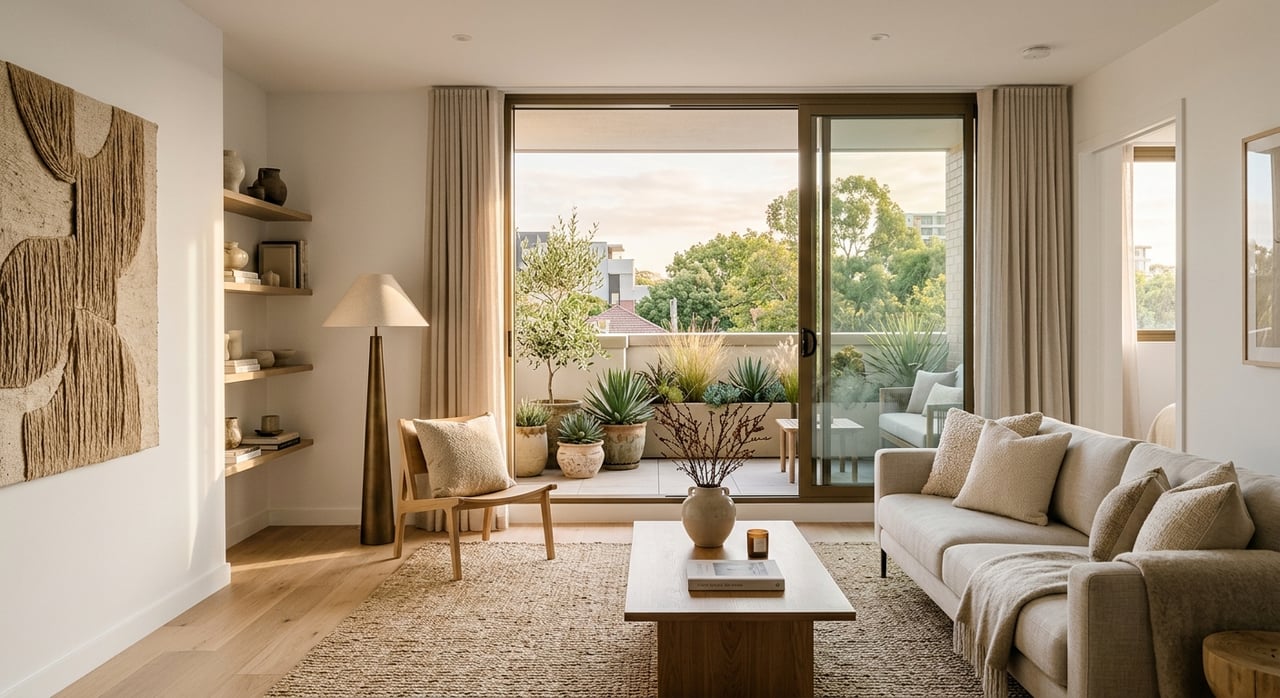
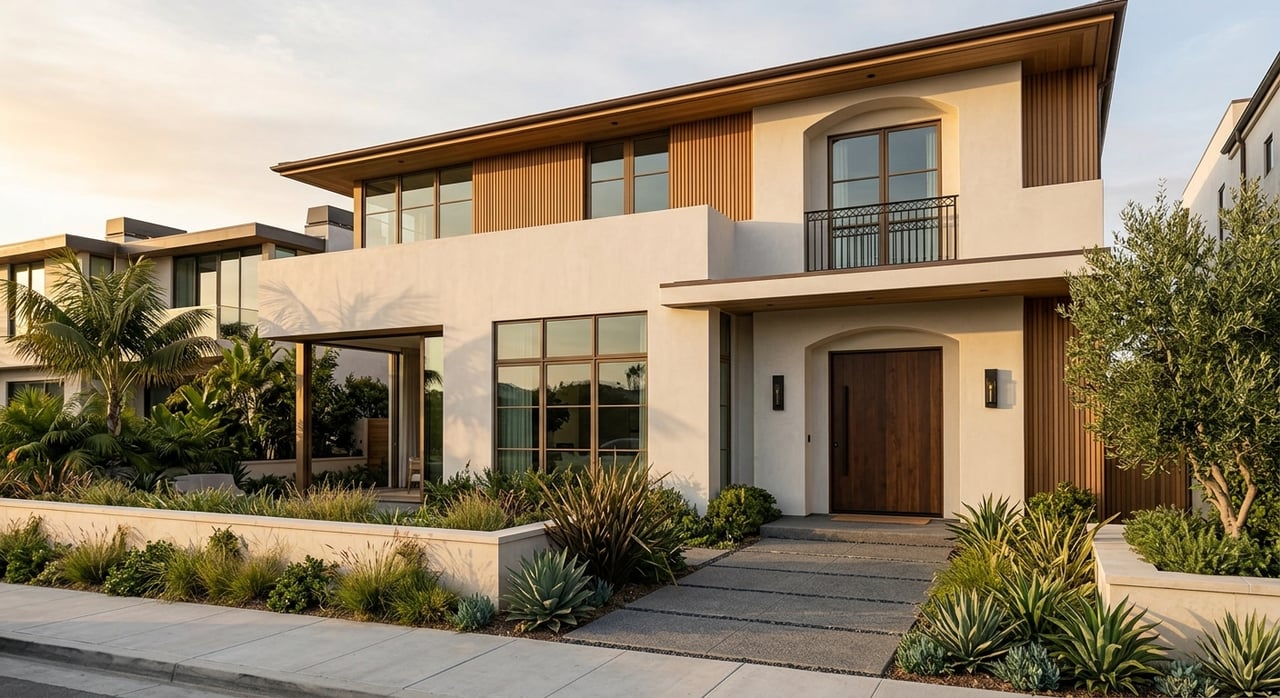
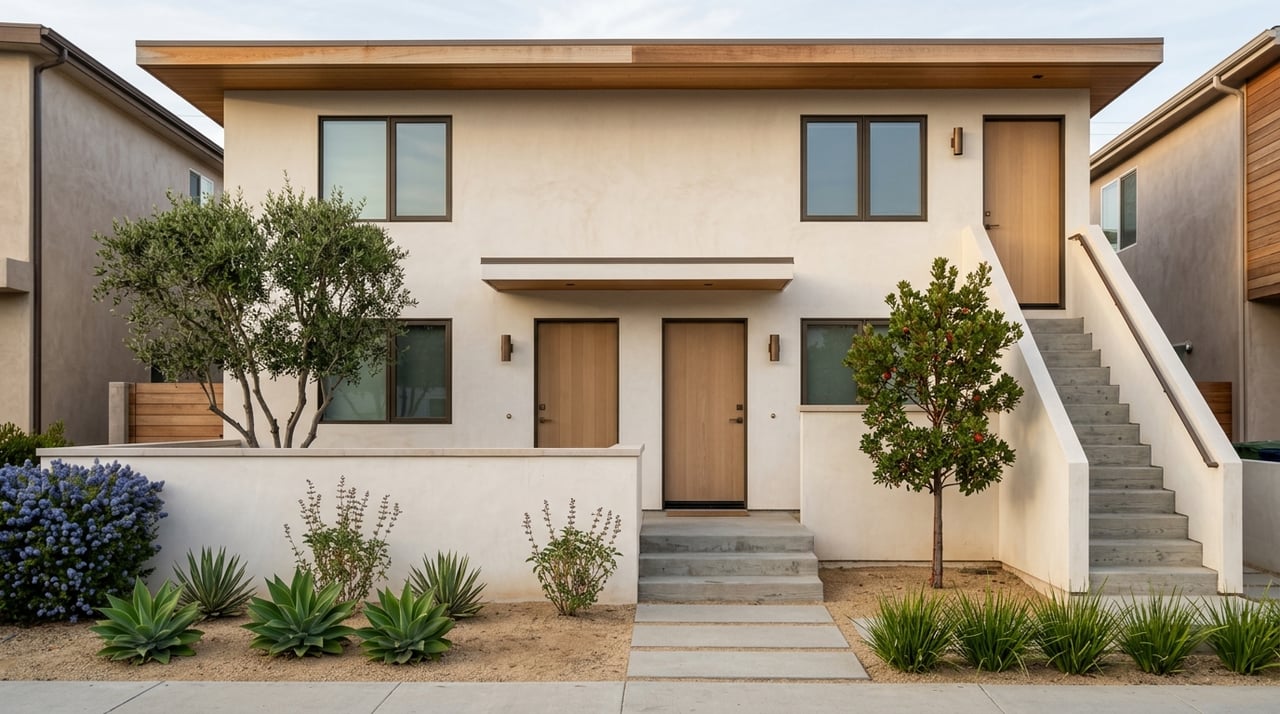
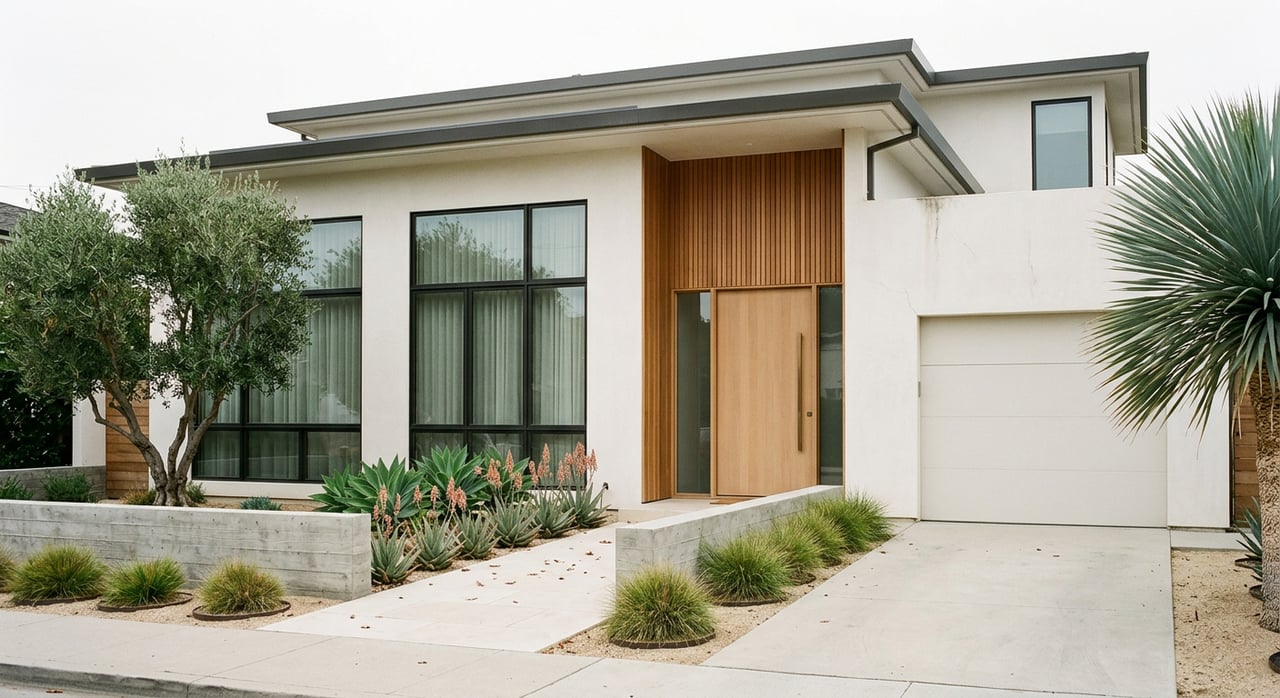
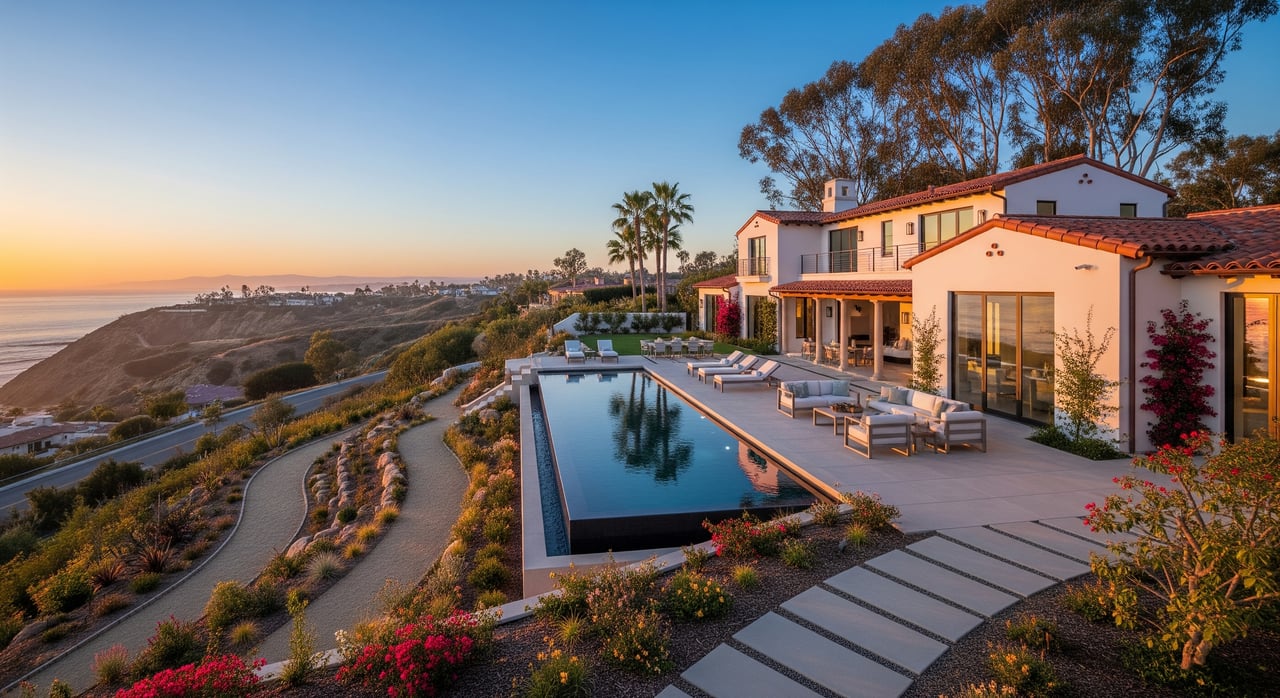
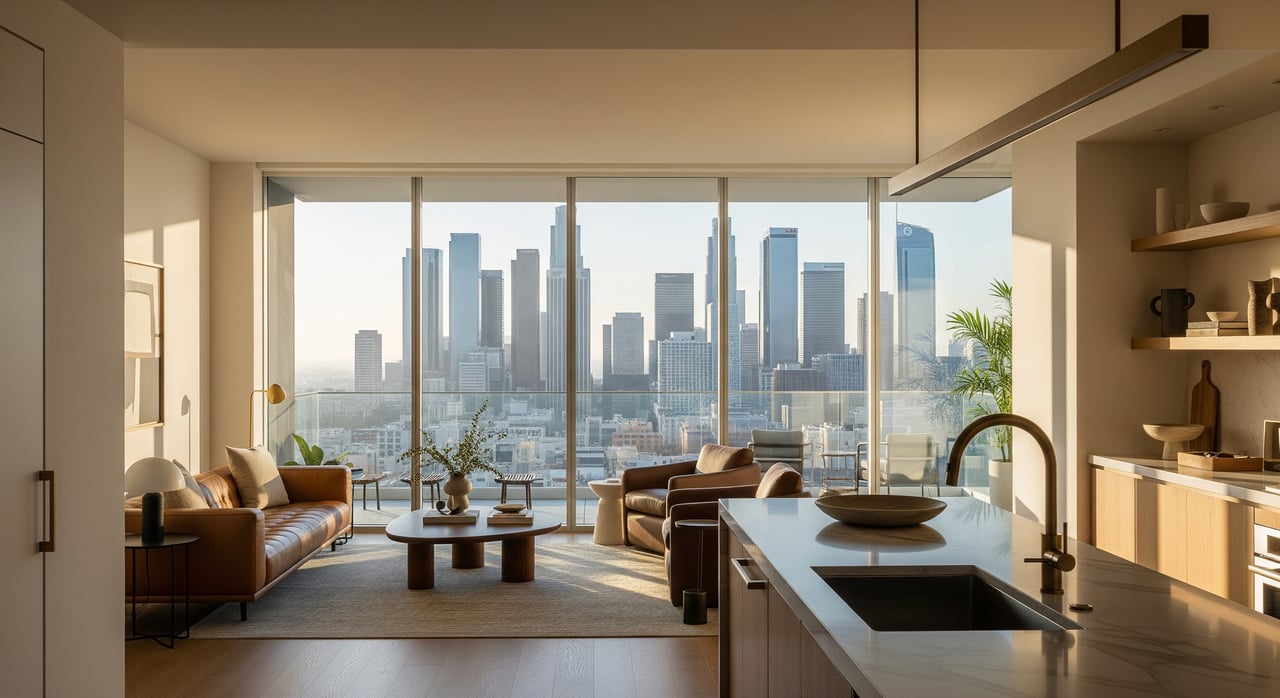
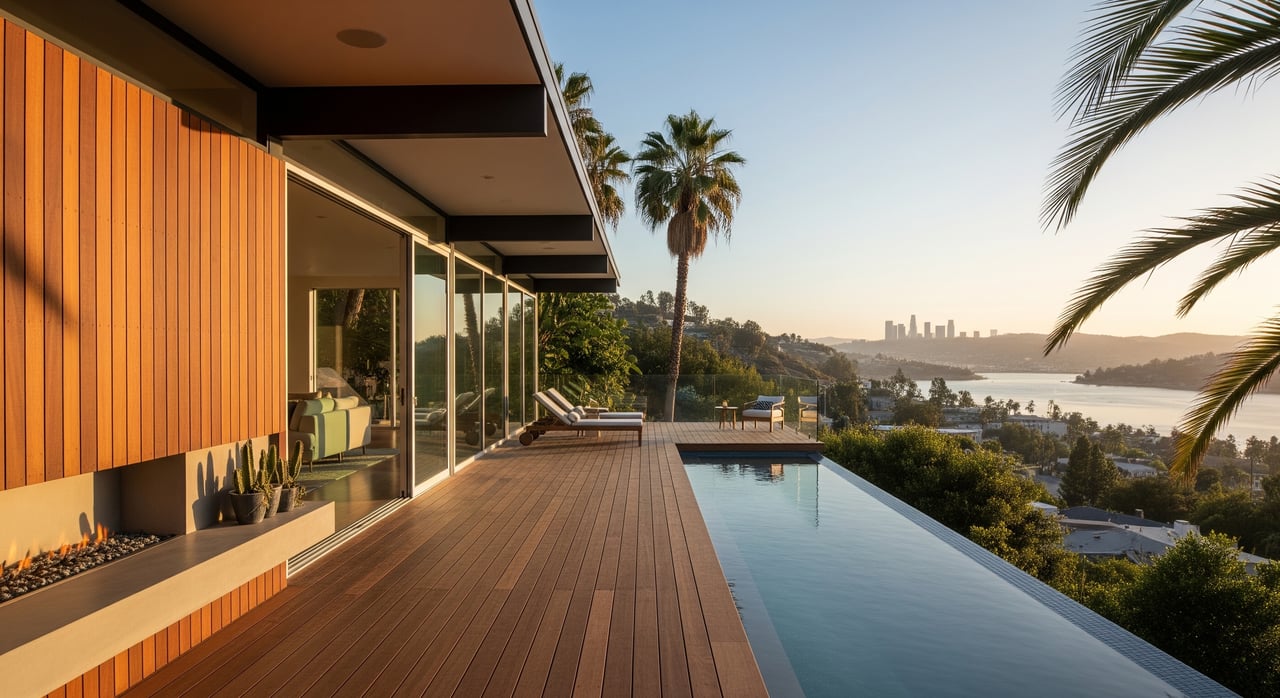
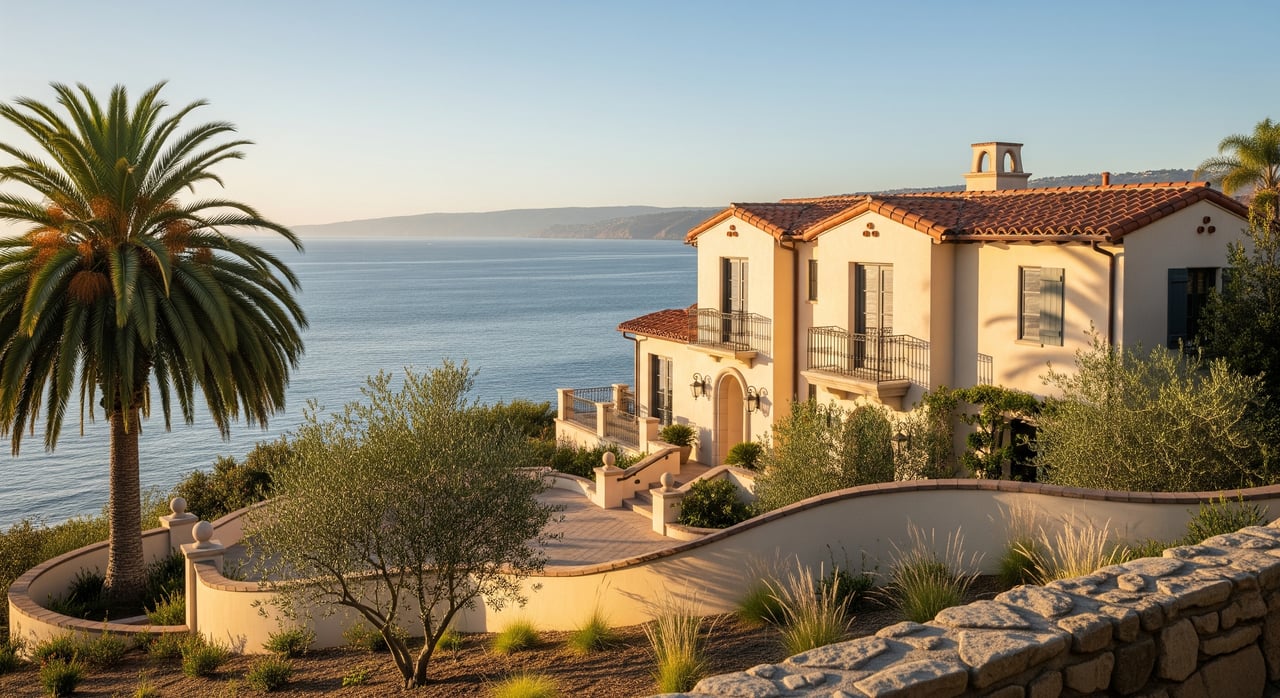
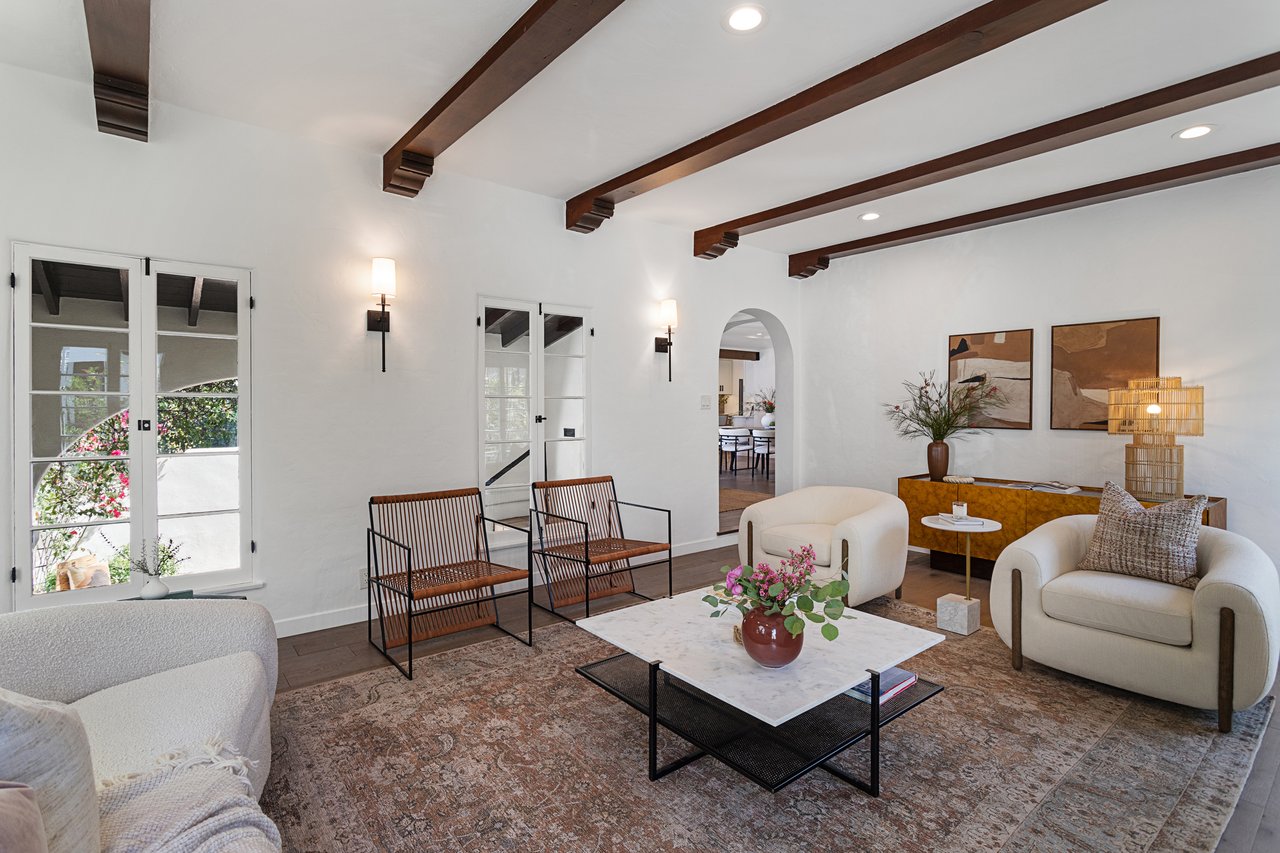
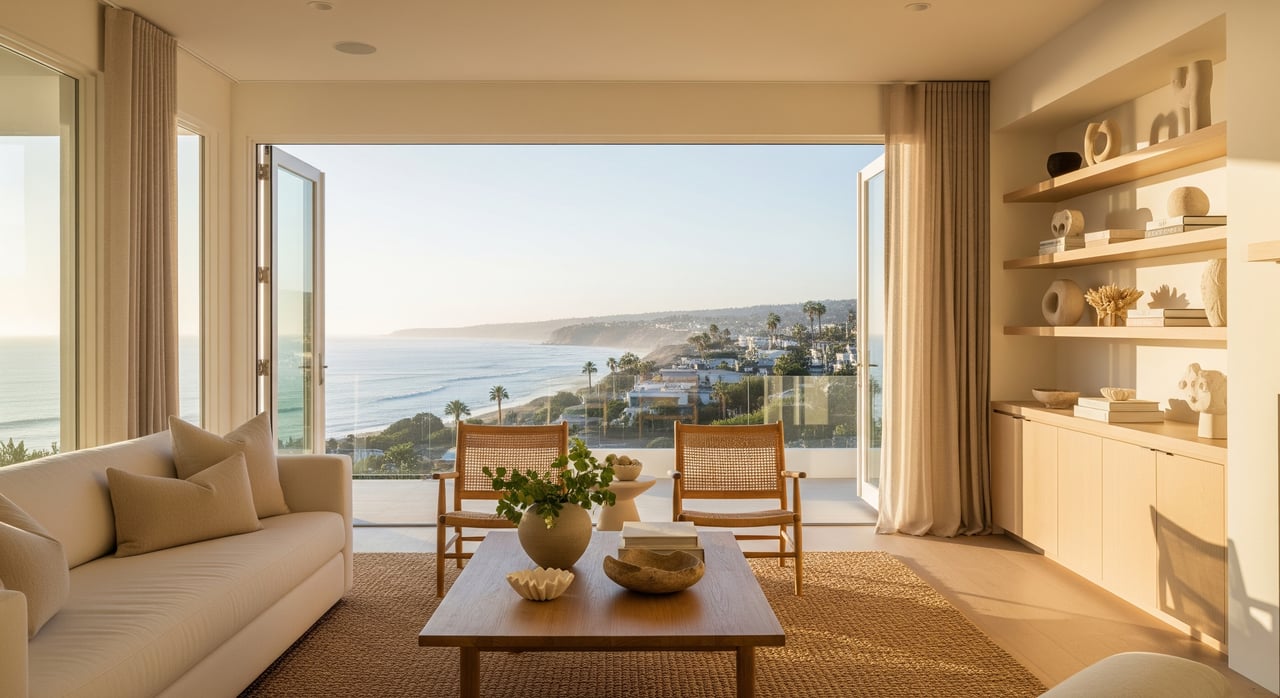
Santa Monica buyers prioritize ocean light, clean lines, and a seamless flow to balconies and patios. You want every room to feel bright and calm, with sightlines that pull you toward the view. At the same time, coastal elements can age surfaces faster, so durability and maintenance are part of the design story.
Before you stage, verify any property-specific risks or rules. Review city resources for permits, open house signage, or building safety questions through the City of Santa Monica. If your property sits near lower elevations, evaluate parcel risk using the FEMA Flood Map Service and visualize longer-term exposure in the NOAA Sea Level Rise Viewer. For coastal development guidelines and policies, consult the California Coastal Commission.
Design principles that sell ocean living
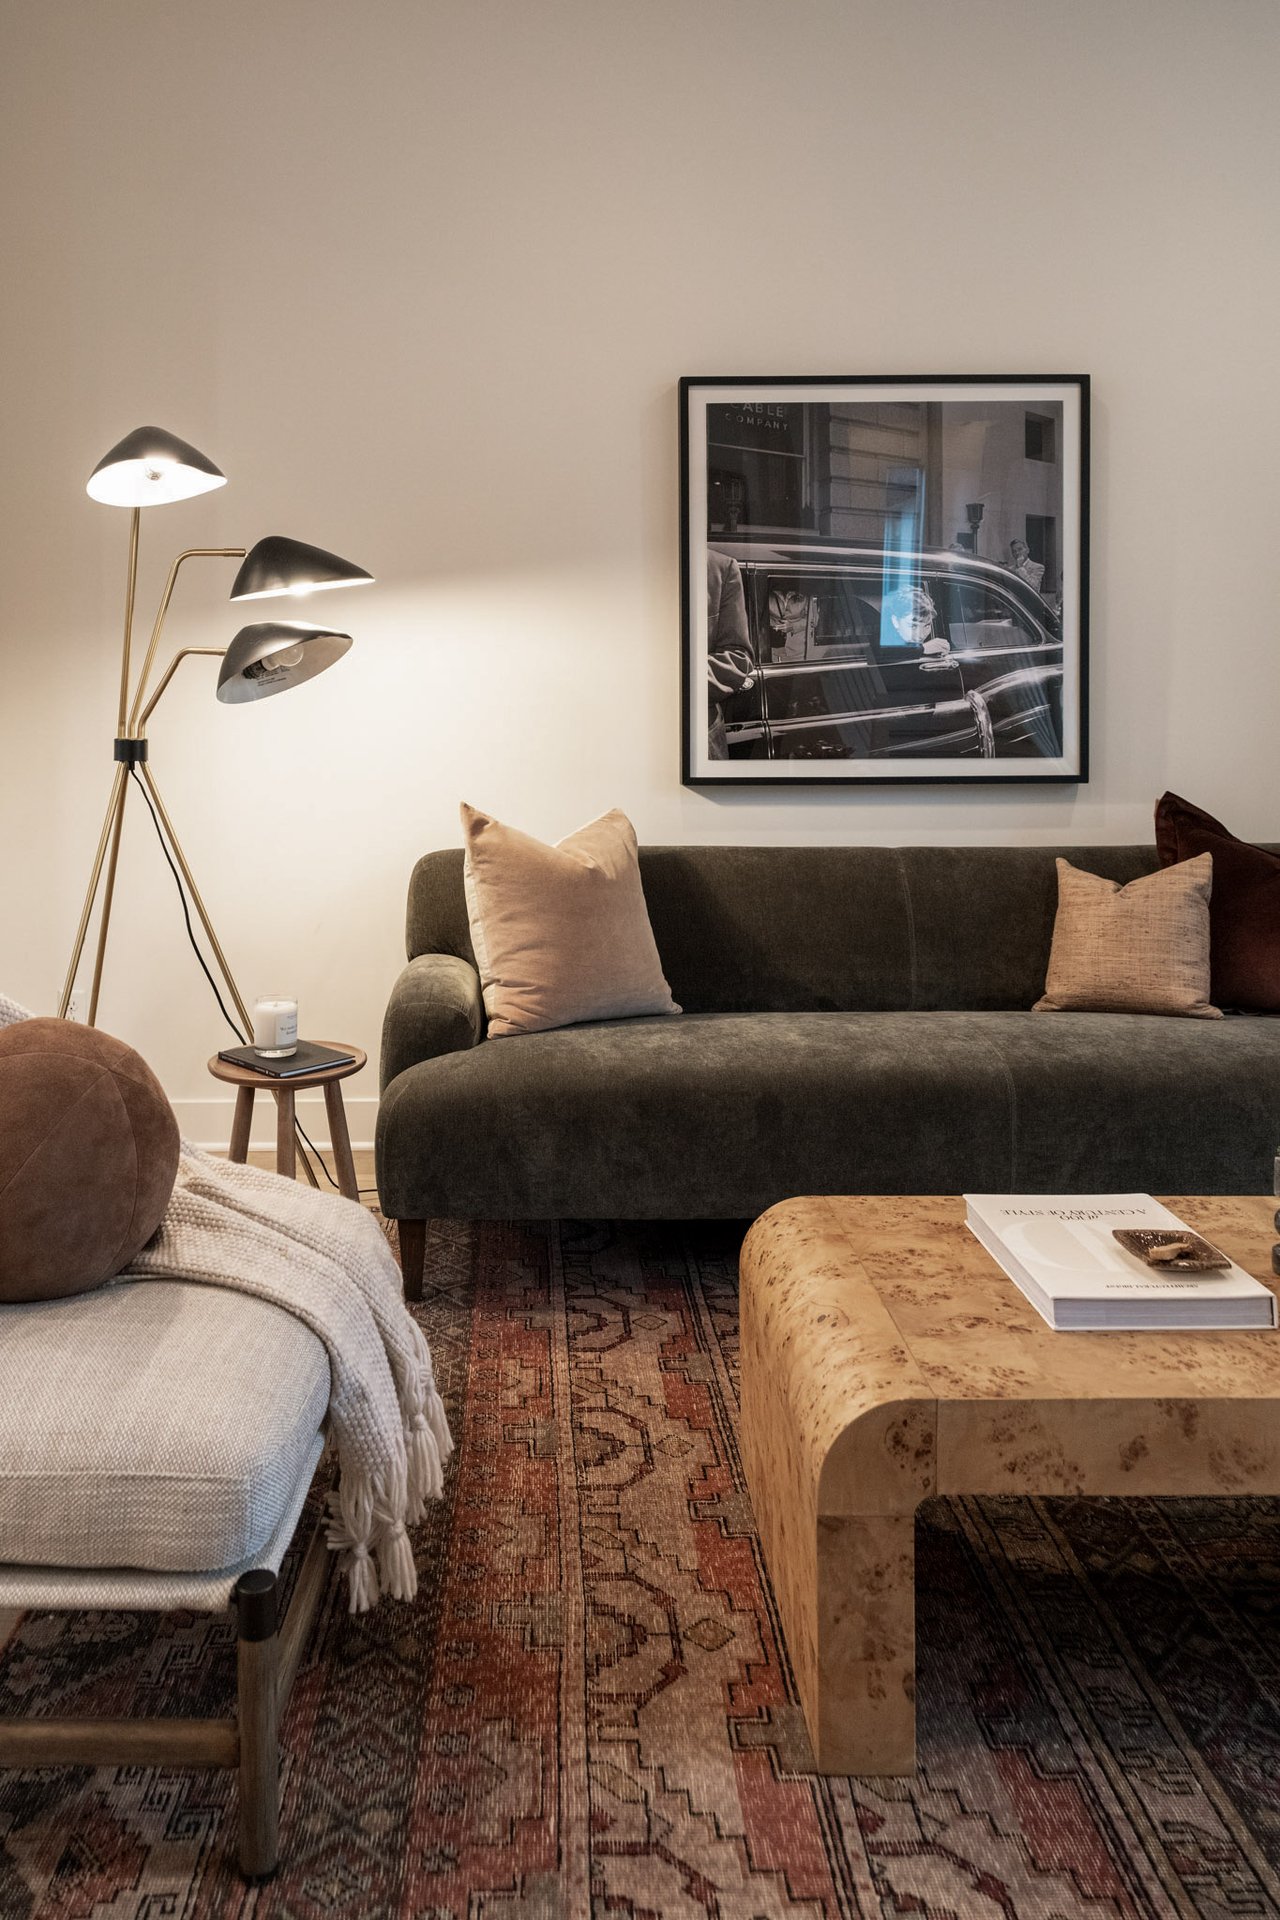
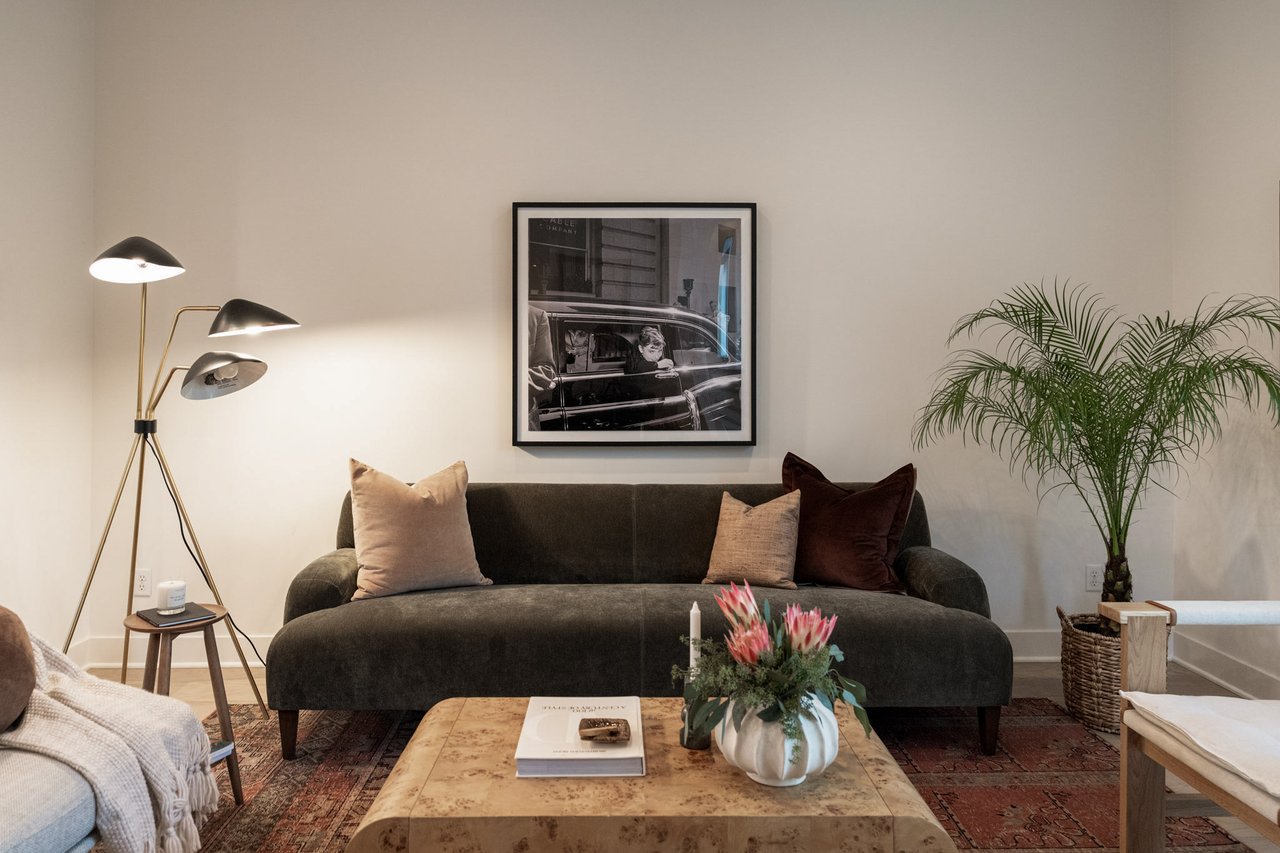
- Keep a neutral base. Think warm whites, sandy beiges, and soft greys, then layer muted blues or sea-glass greens. Avoid literal beach themes. Aim for modern, airy, and calm.
- Choose durable materials. Use UV- and mildew-resistant textiles such as solution-dyed acrylics. For outdoor pieces, favor teak, powder-coated aluminum, or marine-grade stainless steel. Skip untreated steel that rusts quickly in salt air.
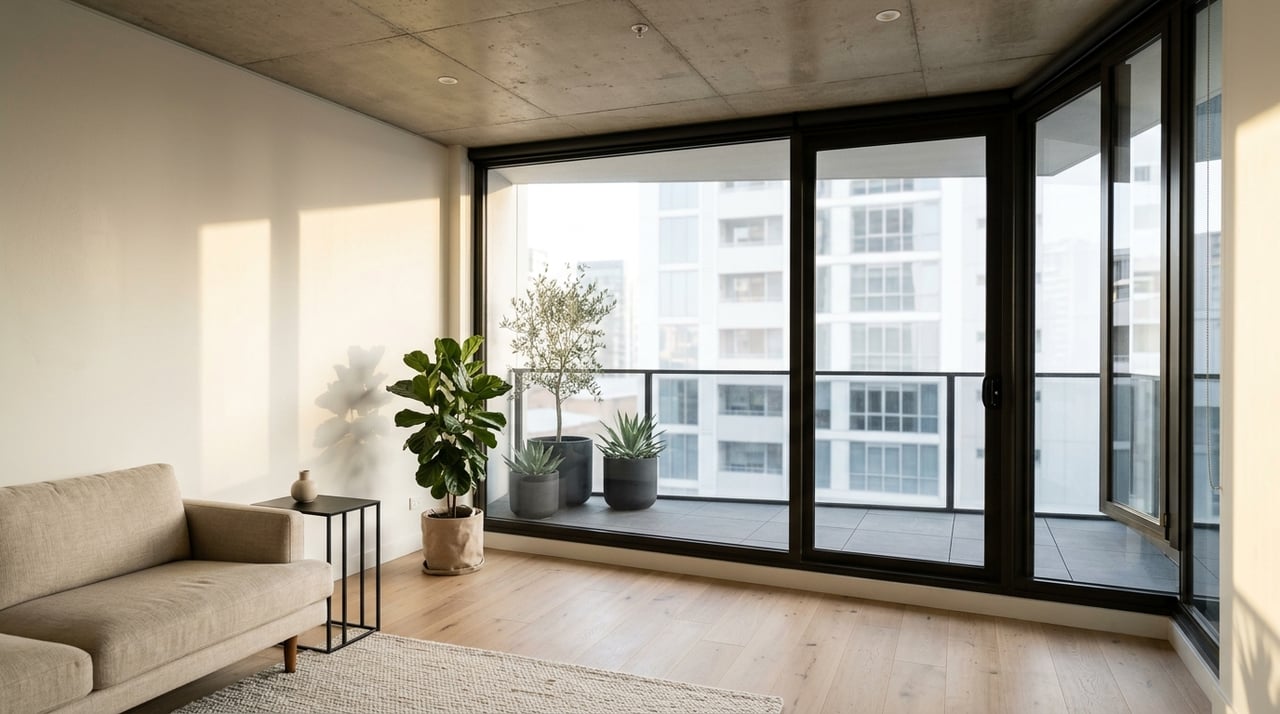
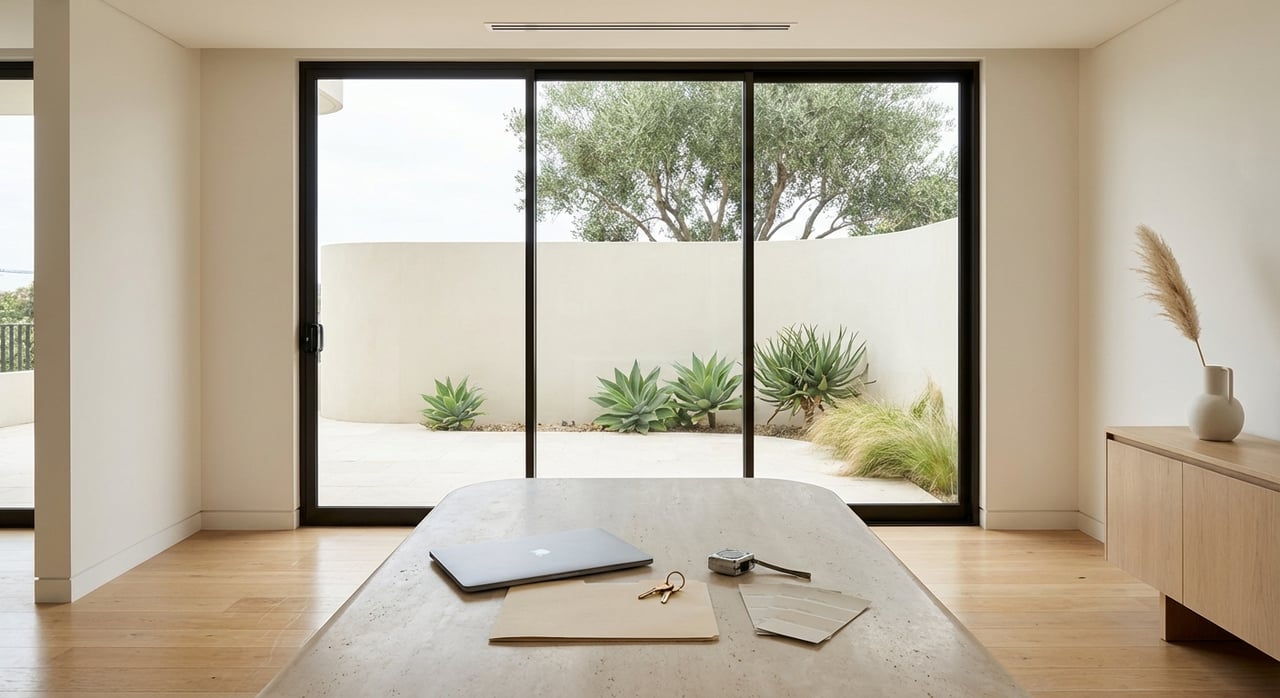
- Maximize light and views. Keep window treatments simple and open fully. Use mirrors to bounce light and reflect the ocean or treetops.
- Right-size every piece. Many beach-area condos and bungalows have smaller footprints. Scale sofas, tables, and rugs to maintain clear paths and sightlines.
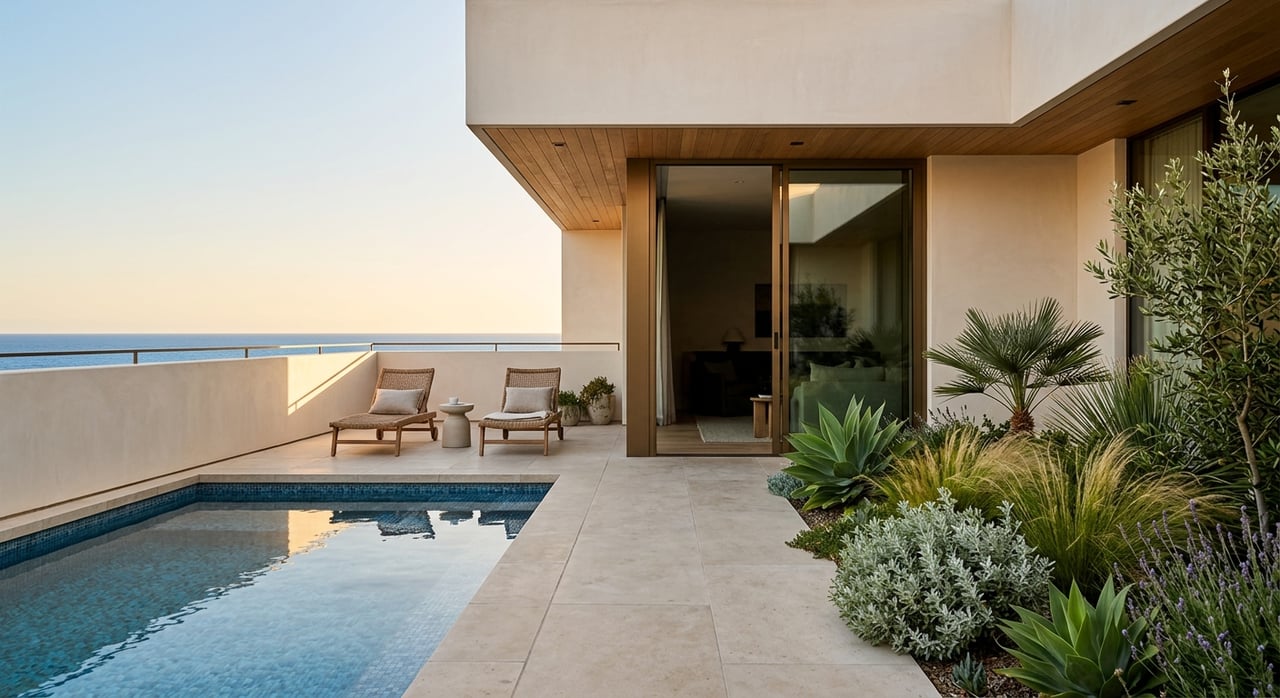
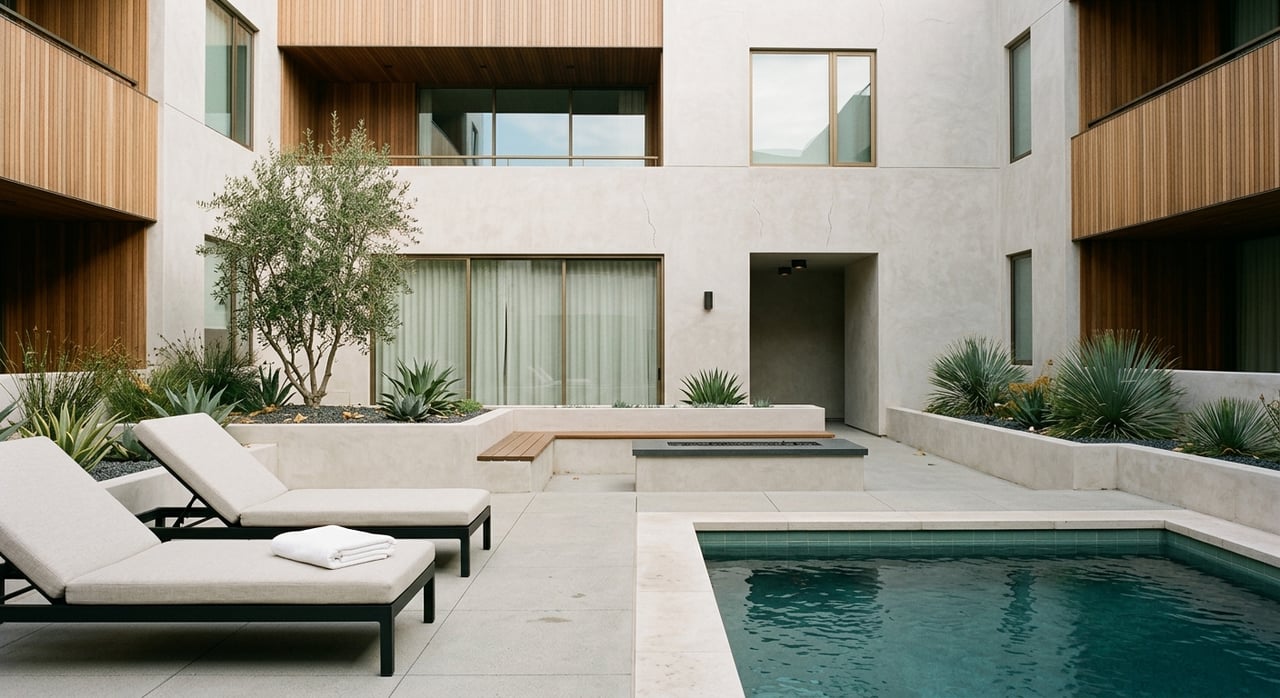
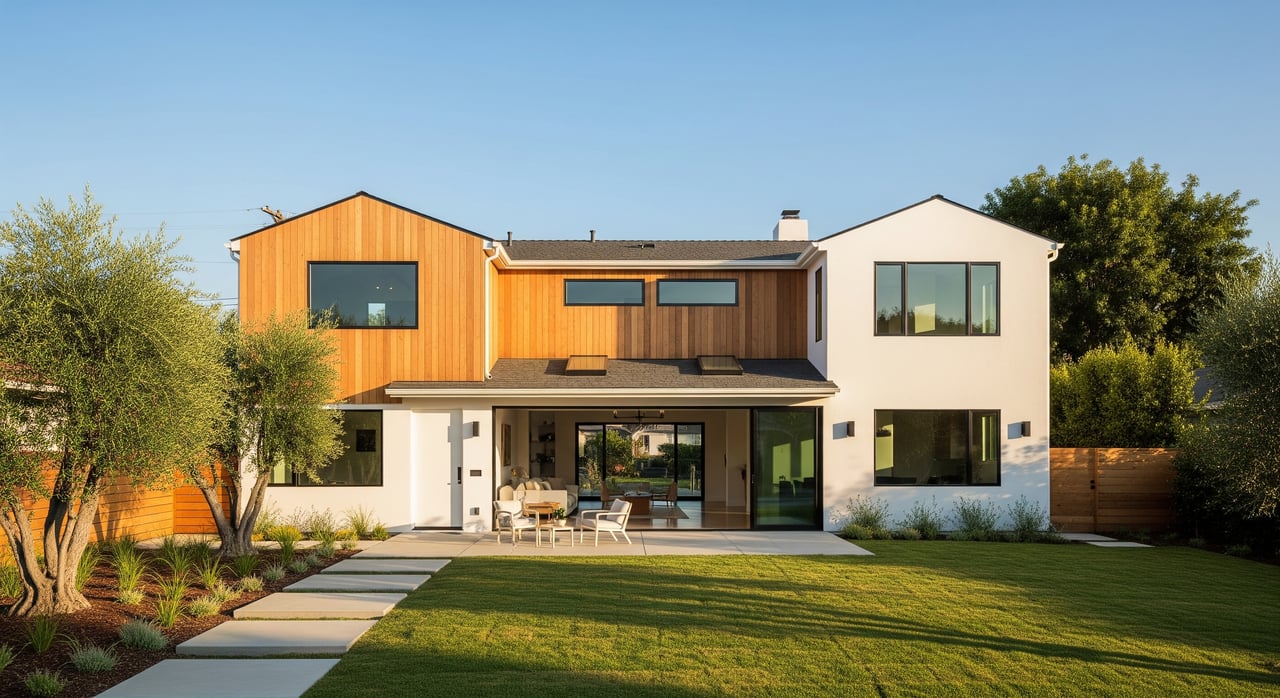
- Show indoor-outdoor flow. Stage balconies and patios as true living zones with comfortable seating, a compact table, and a weather-friendly rug.
Room-by-room staging checklist
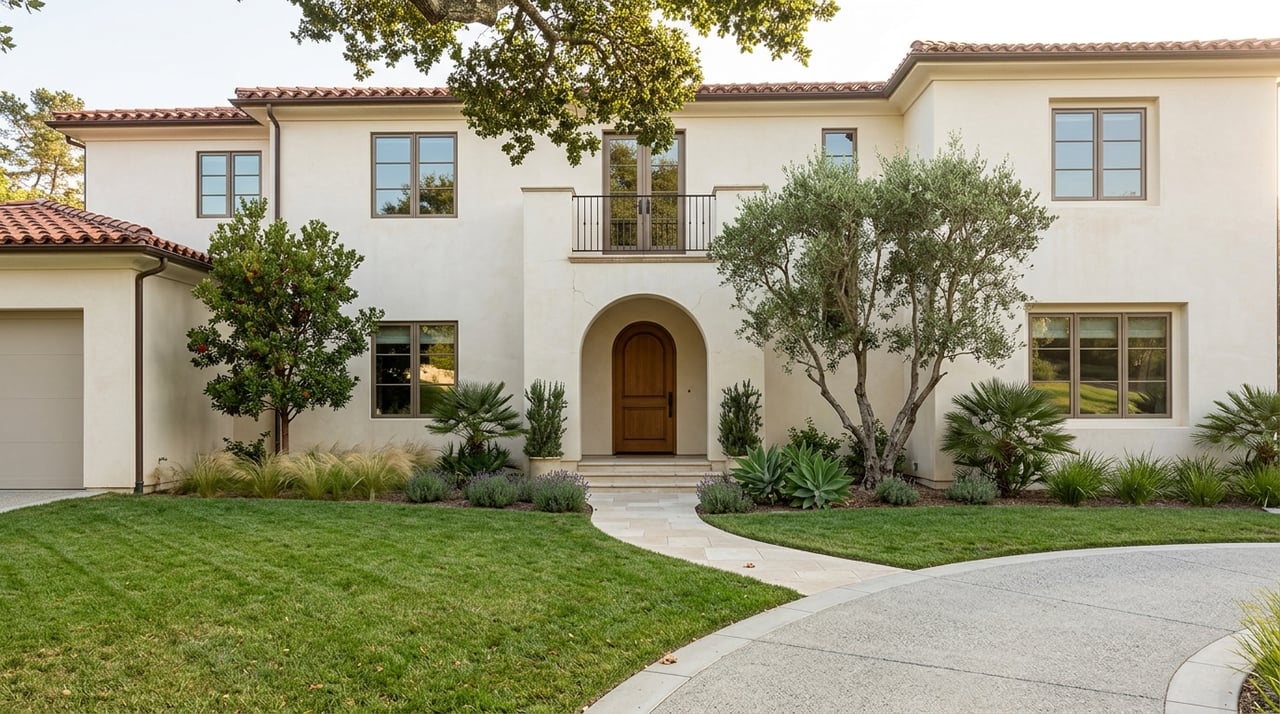
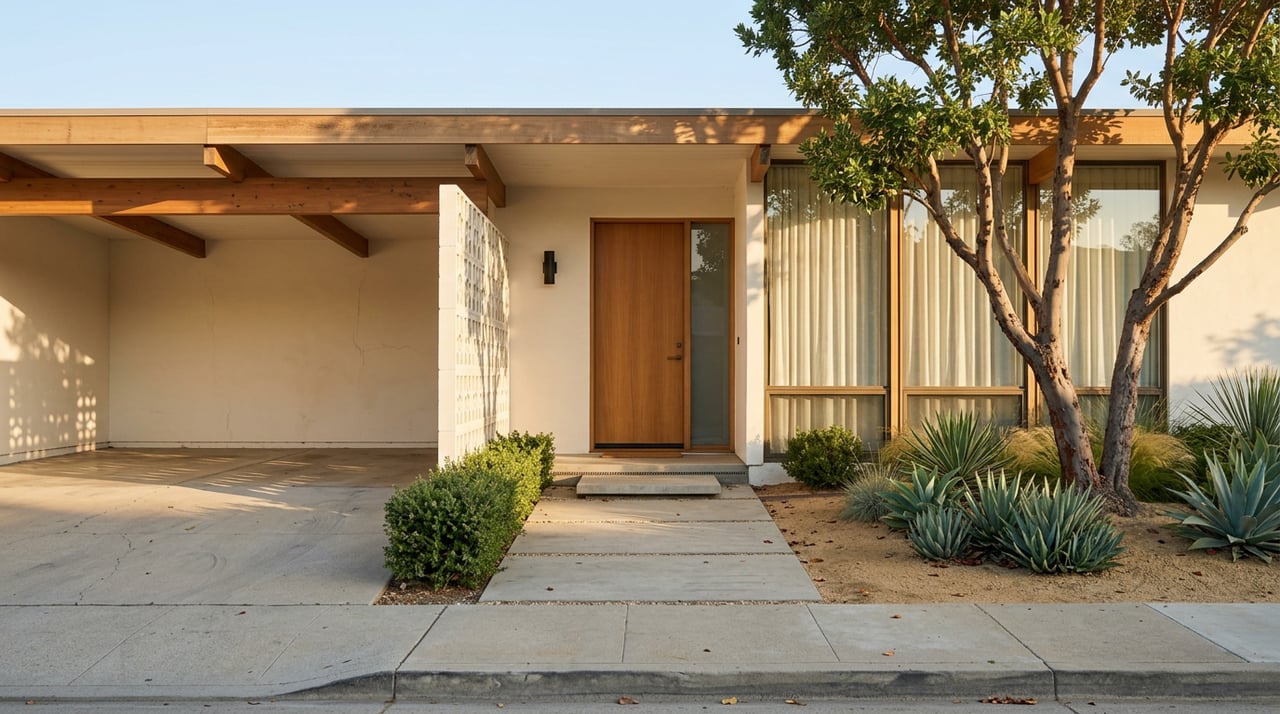
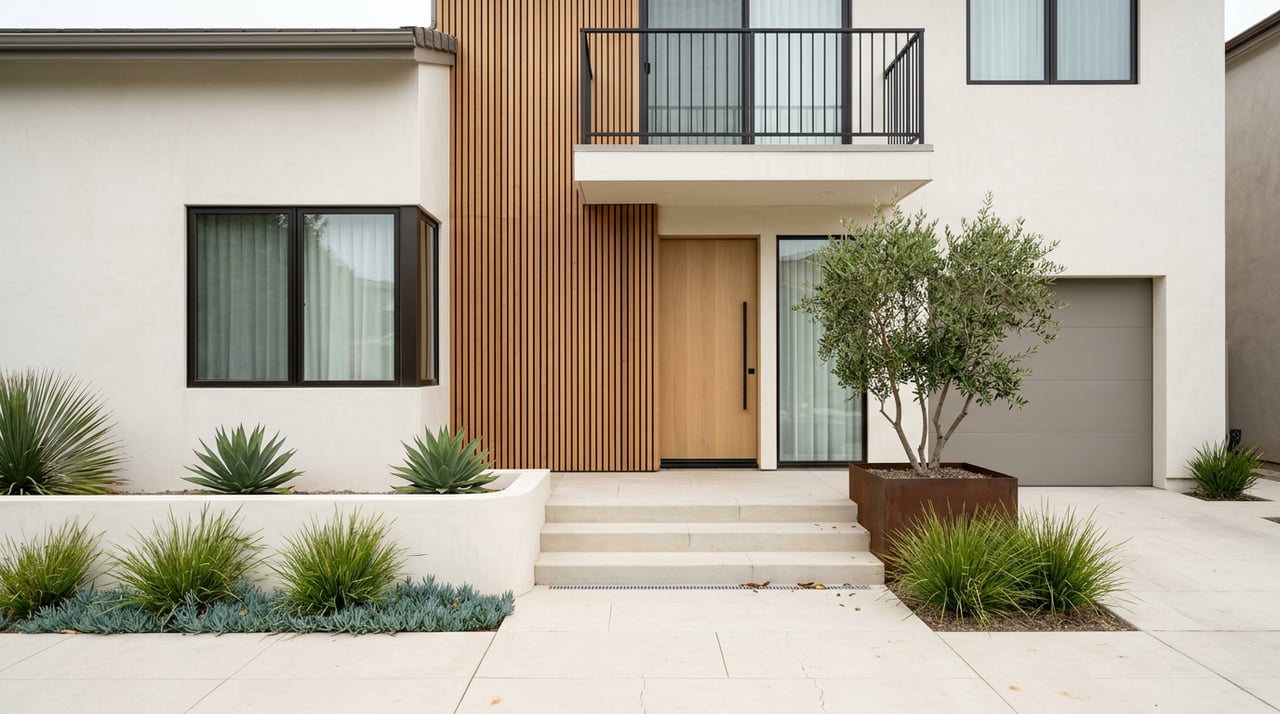
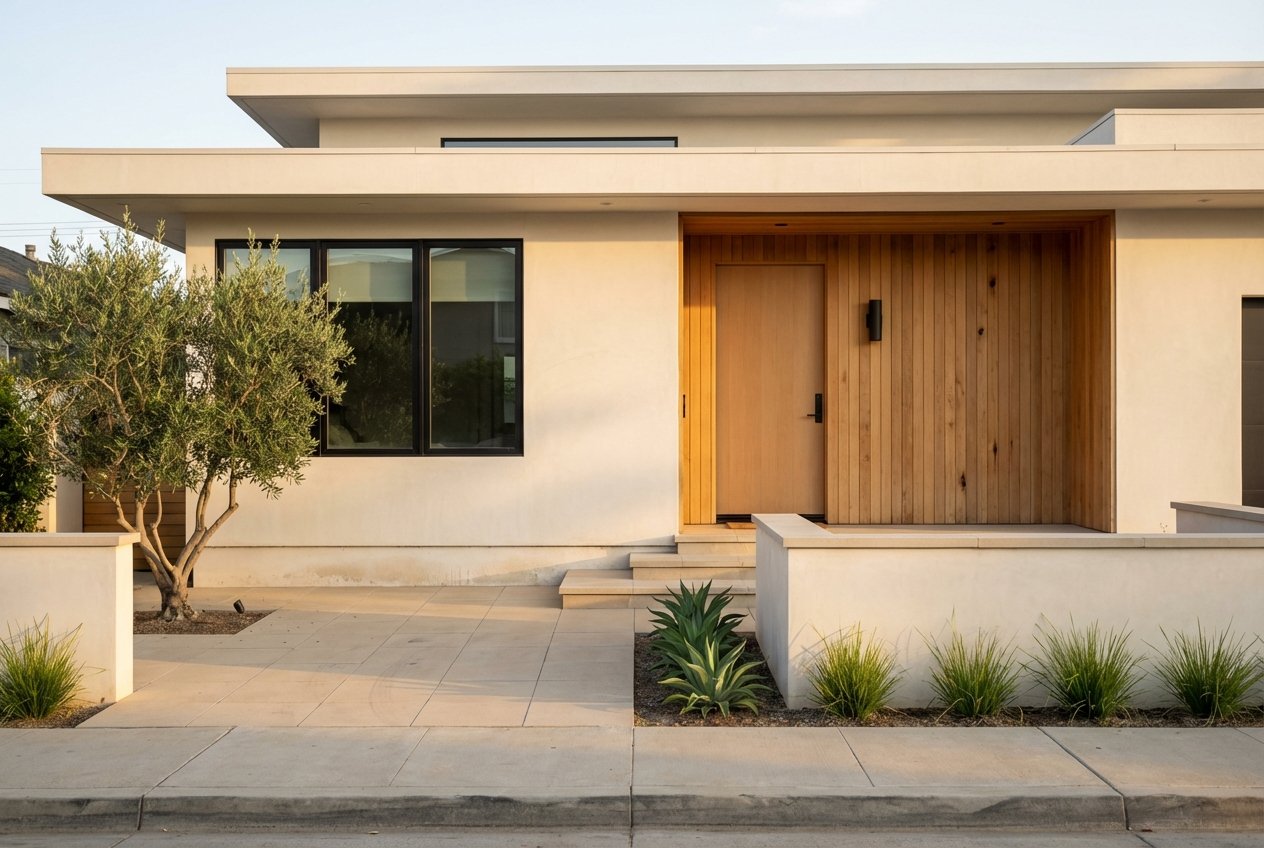
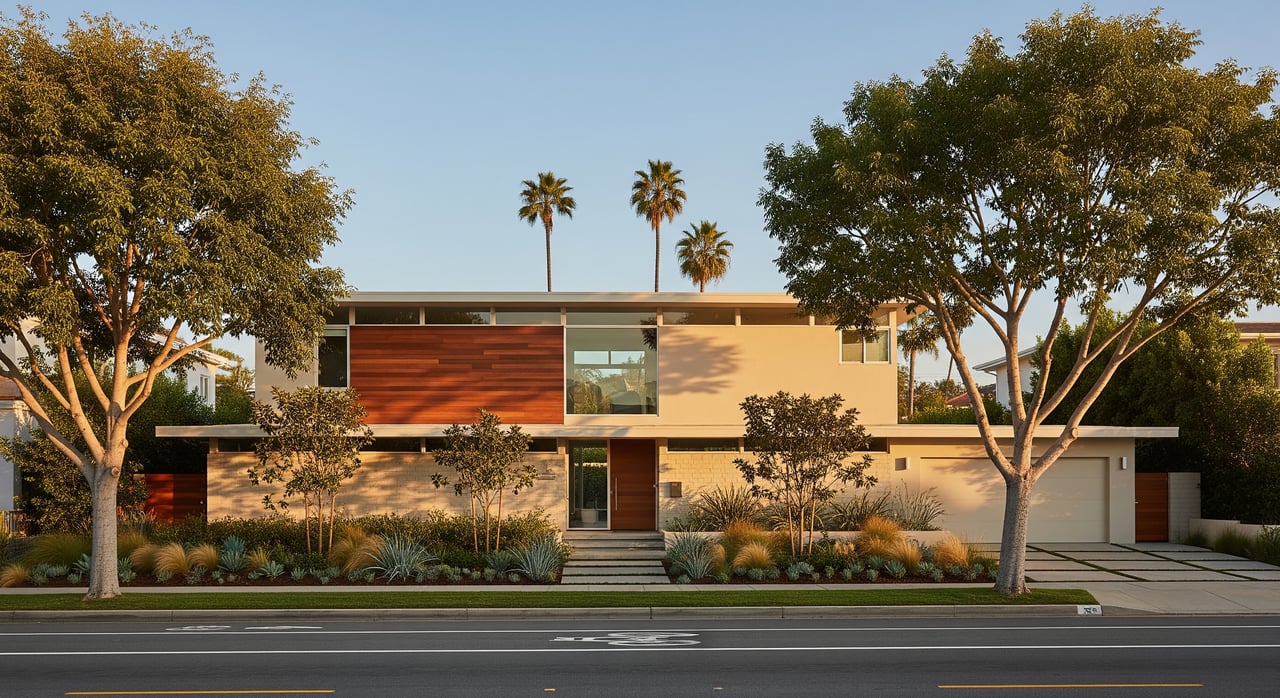
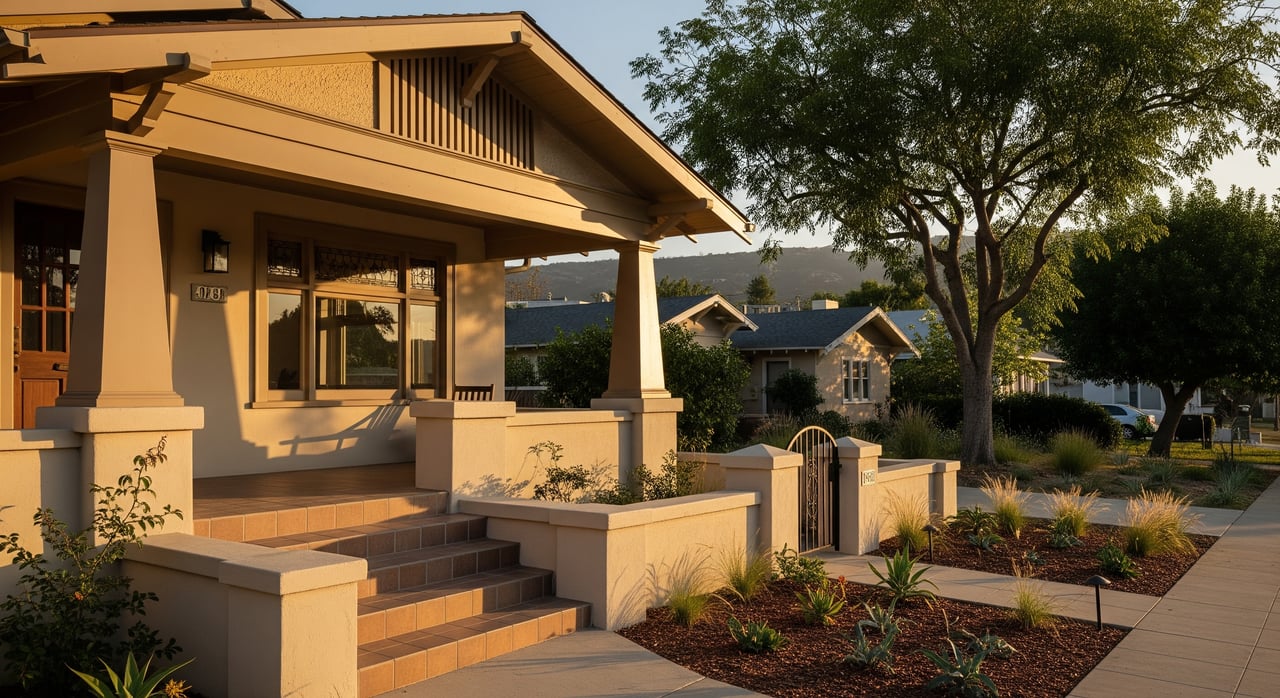
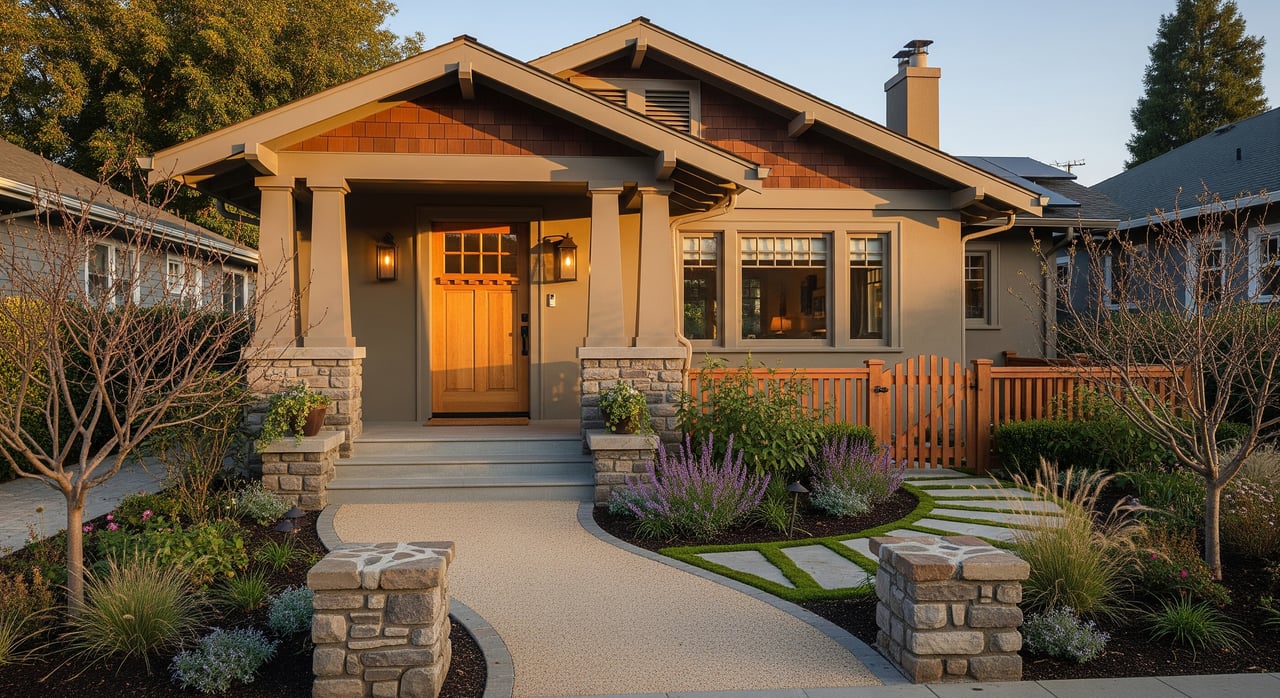
Entry and curb appeal
- Pressure-wash walkways and steps if permitted. Keep the path to the door clear and well lit.
- Use minimal, drought-tolerant potted plants and refresh house numbers and mailbox.
- If street parking is tight, add concise parking guidance to your listing notes.
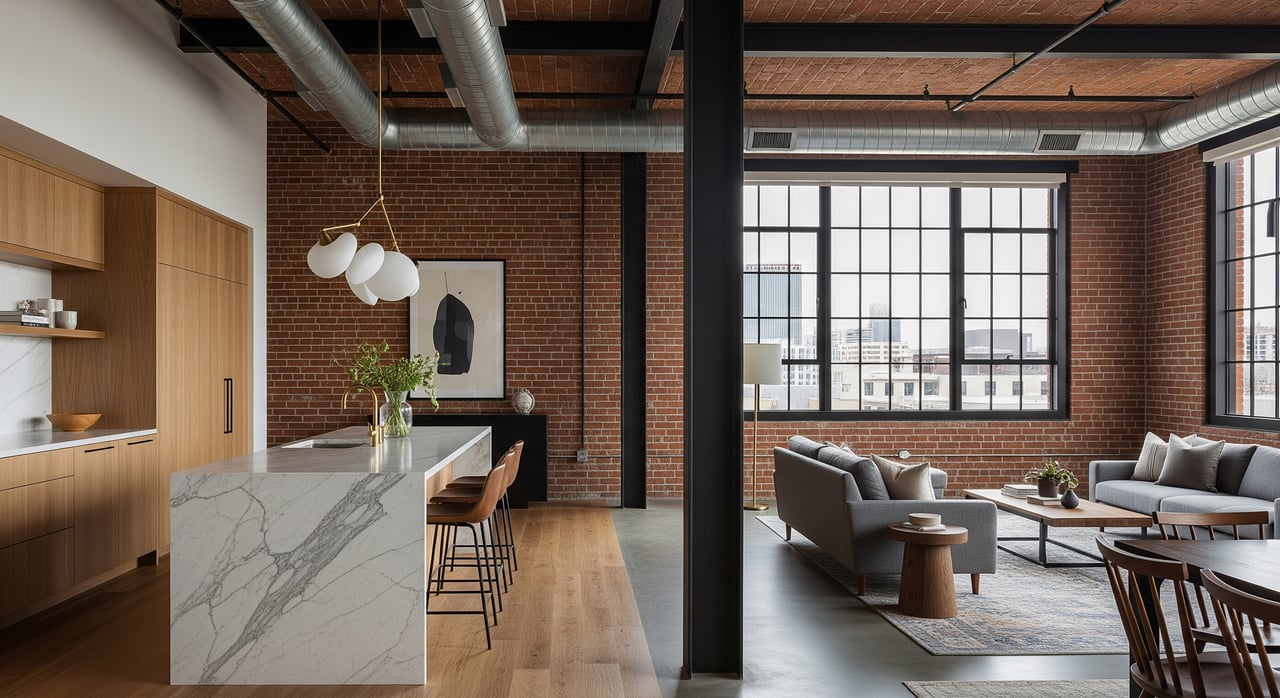
Living room
- Arrange seating to face windows or the balcony. Avoid oversized pieces that crowd the room.
- Use a slim console or armless chairs to preserve sightlines.
- Add a large mirror to amplify light and reflect the best view.
- Remove personal photos and visible clutter.
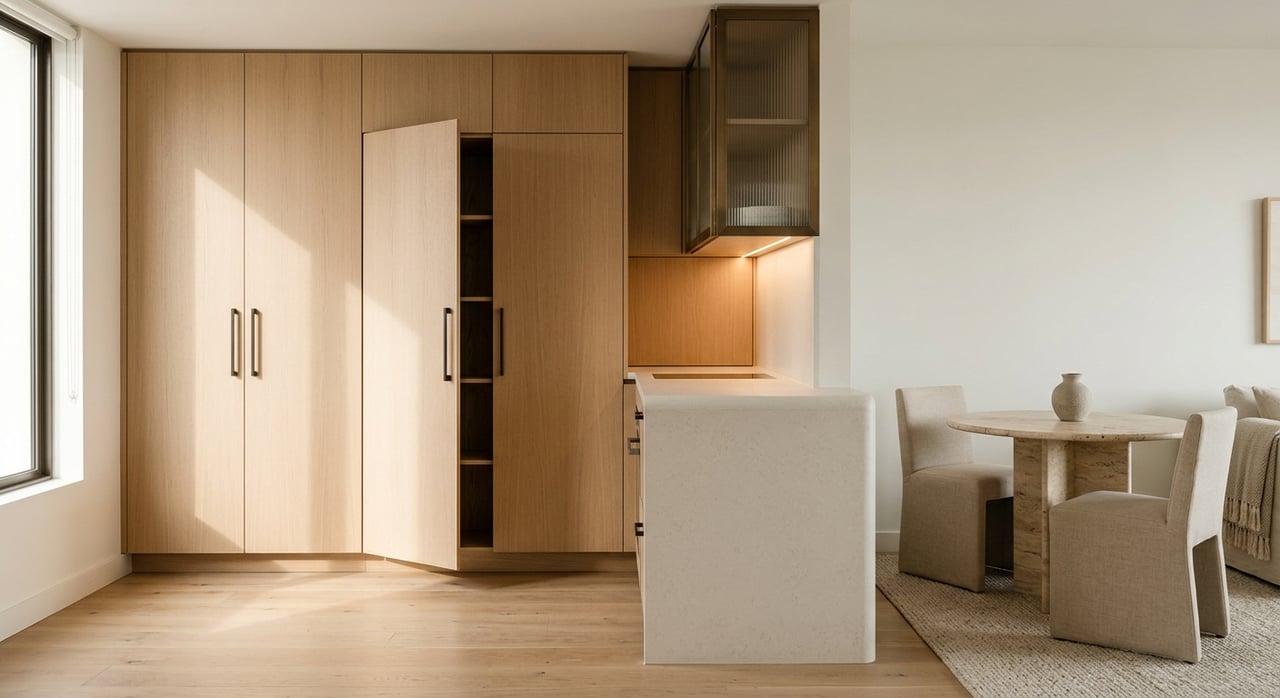
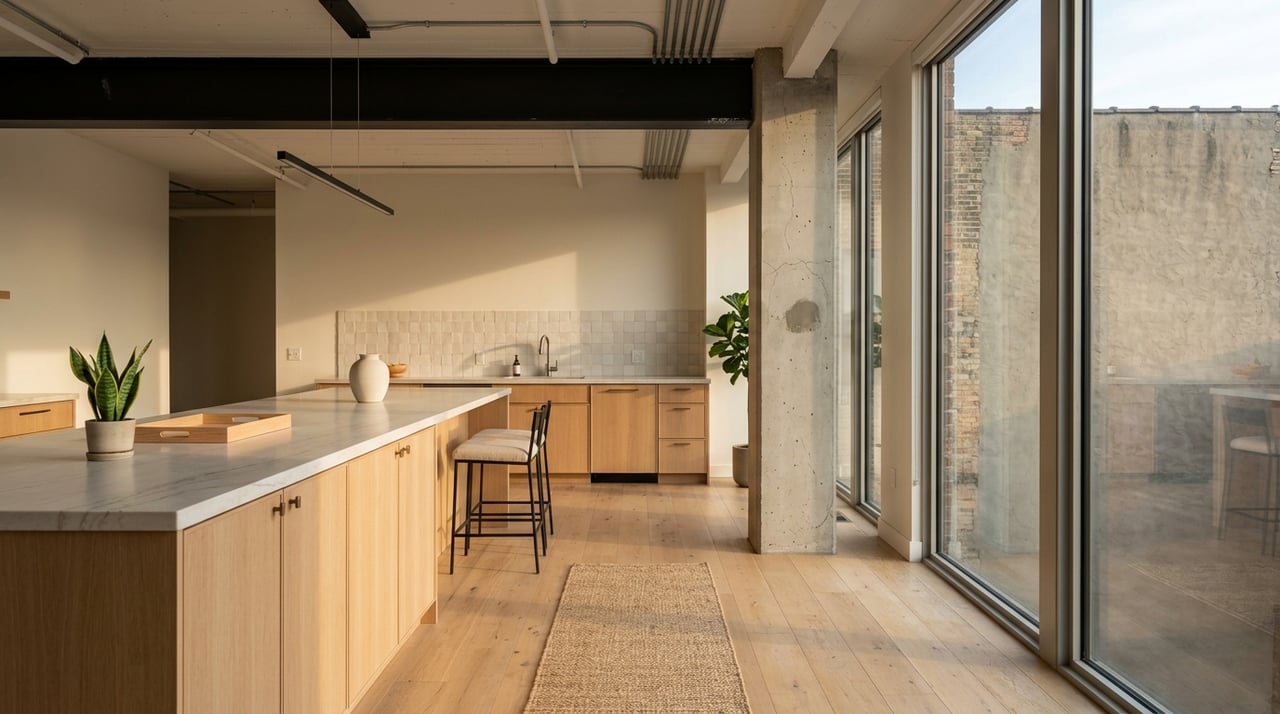
Kitchen
- Clear counters to highlight workspace and appliances. A simple bowl of lemons or a single tray is enough.
- If there is patio access, stage a small breakfast setup to hint at morning coffee outside.
- Replace tired hardware or lighting if needed for a clean, cohesive look.
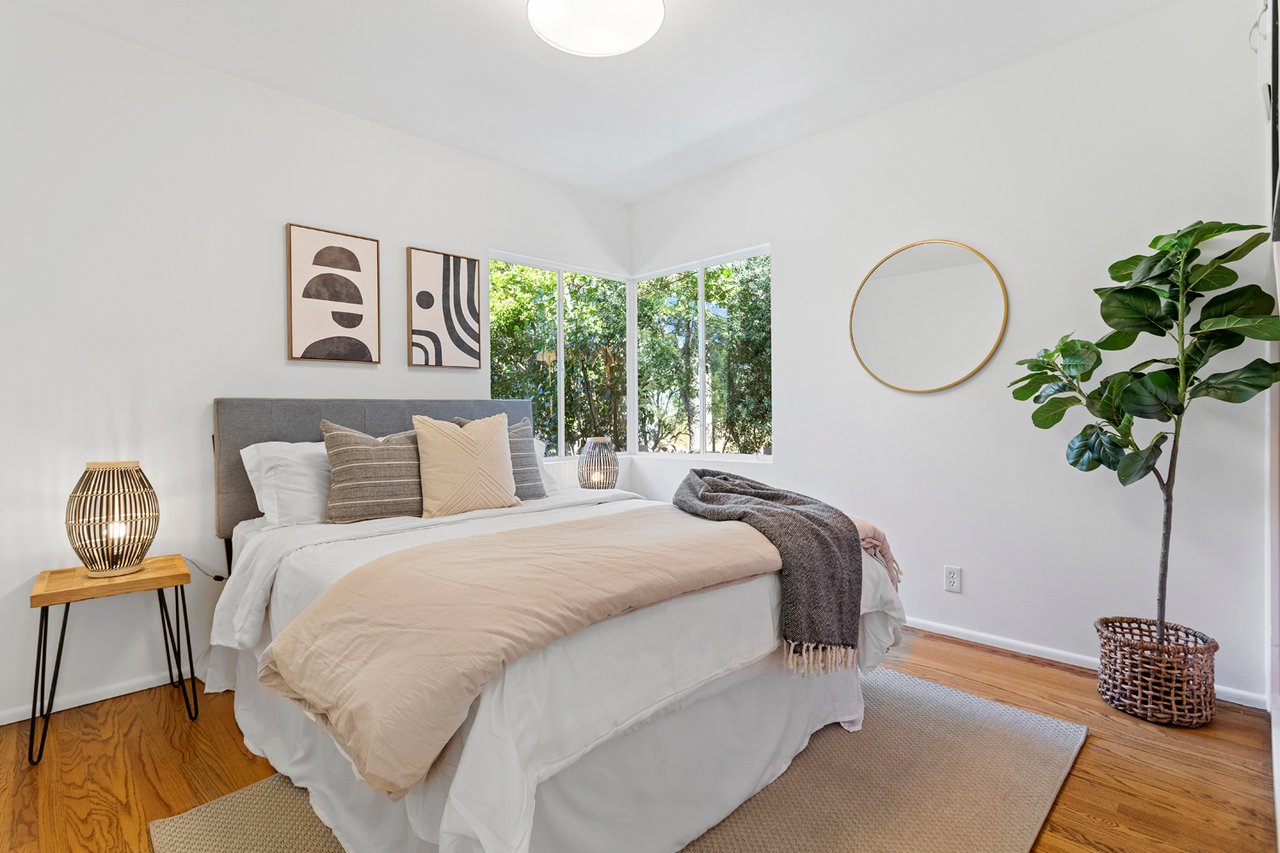
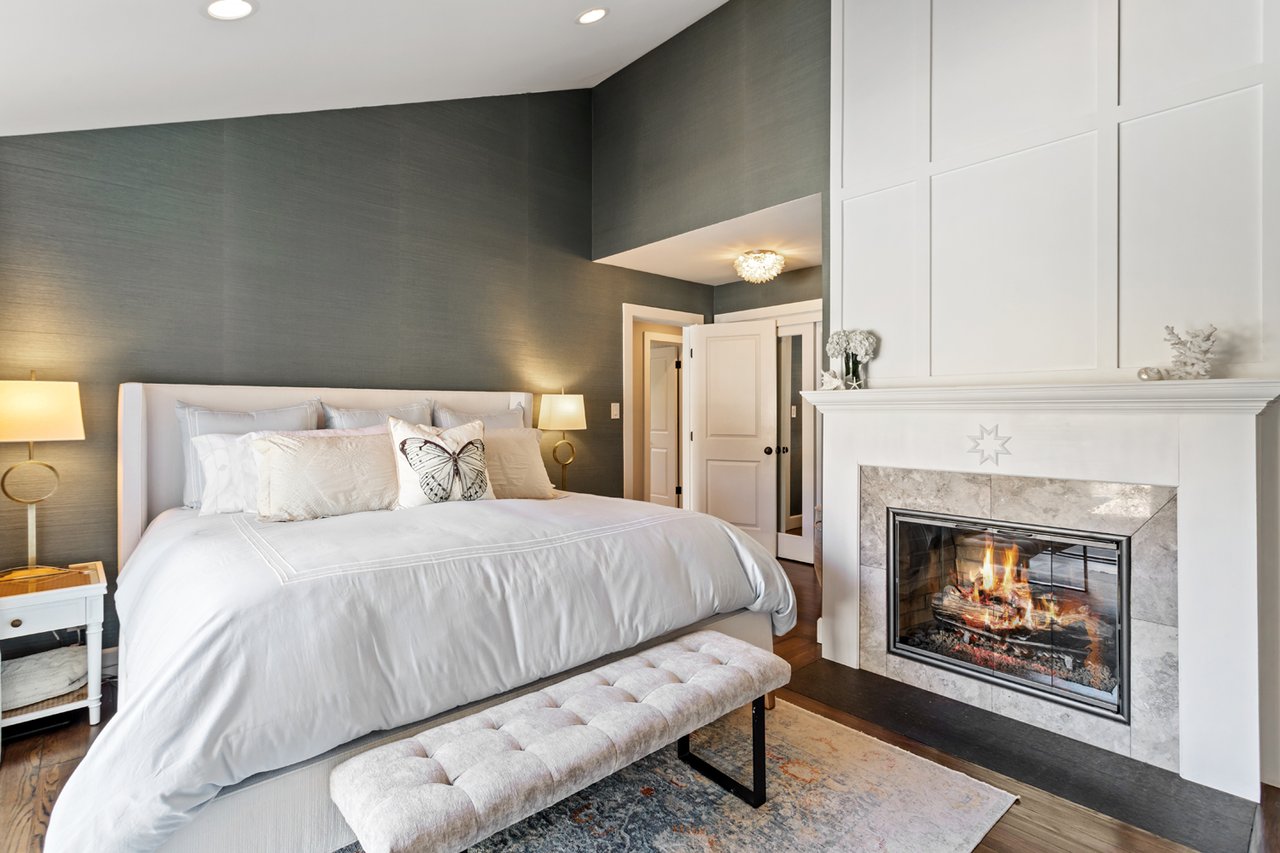
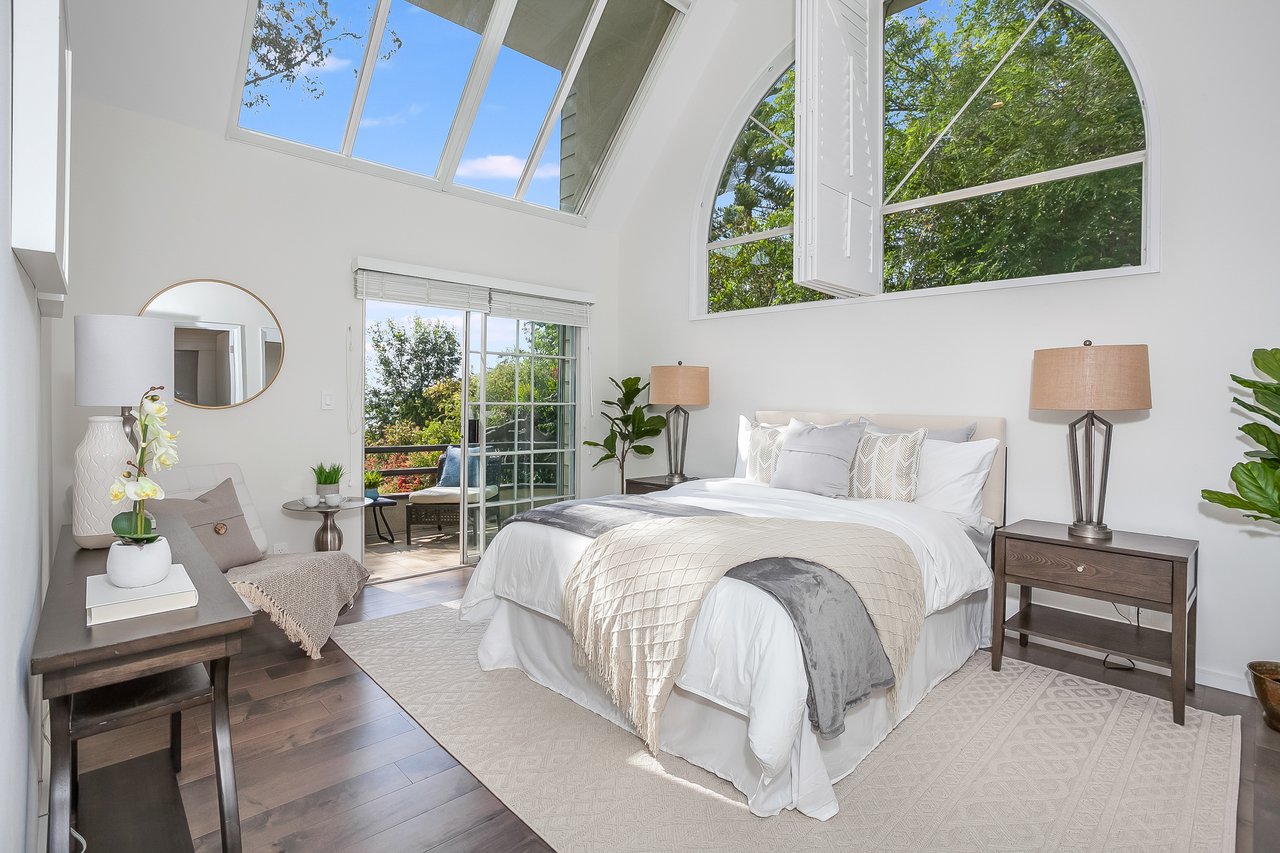
Primary bedroom
- Keep bedding crisp and neutral with one coastal accent color.
- Remove extra dressers and benches to make the room feel larger.
- Ensure window coverings open fully to showcase light and any view.
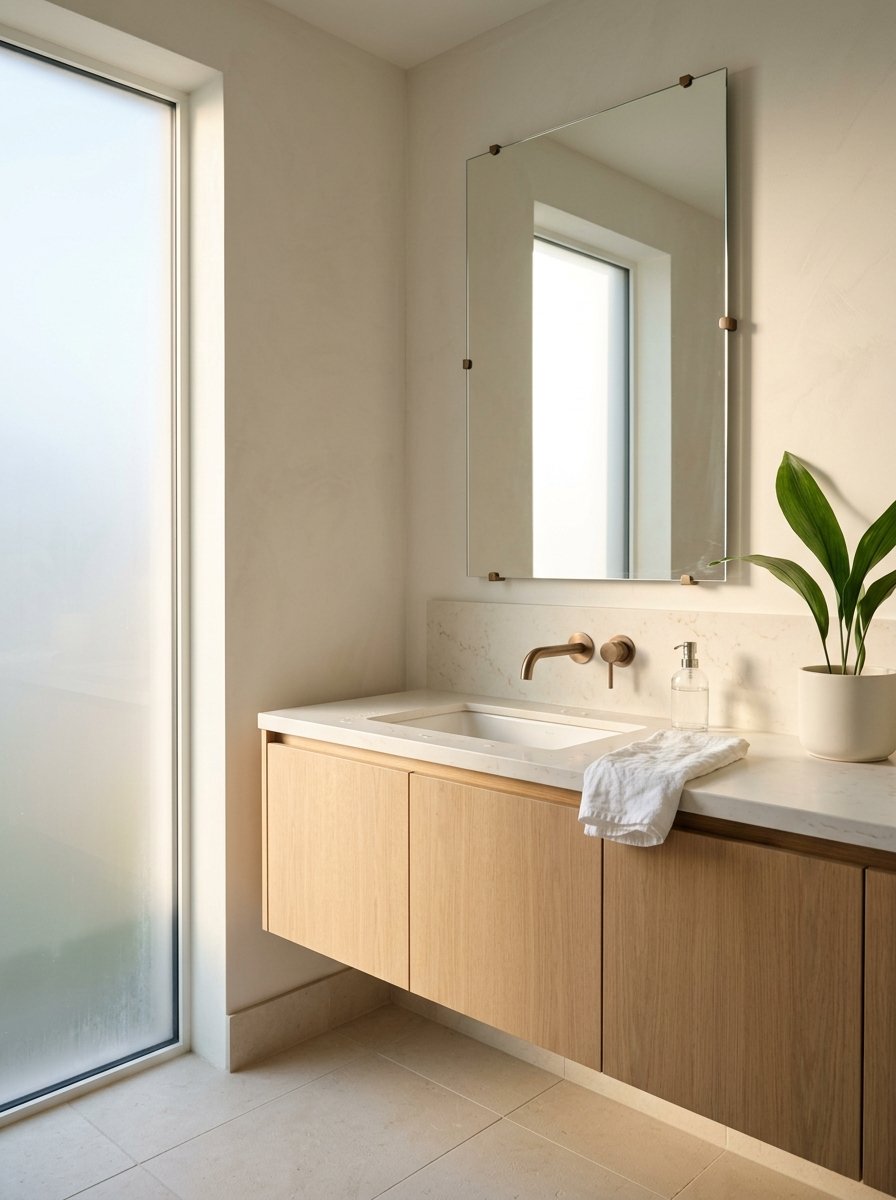
Bathrooms
- Deep clean tile, grout, and glass. Replace worn caulk.
- Use coordinated towels and minimal accessories.
- If mildew is present, remediate before showings and ensure vent fans are in good working order.
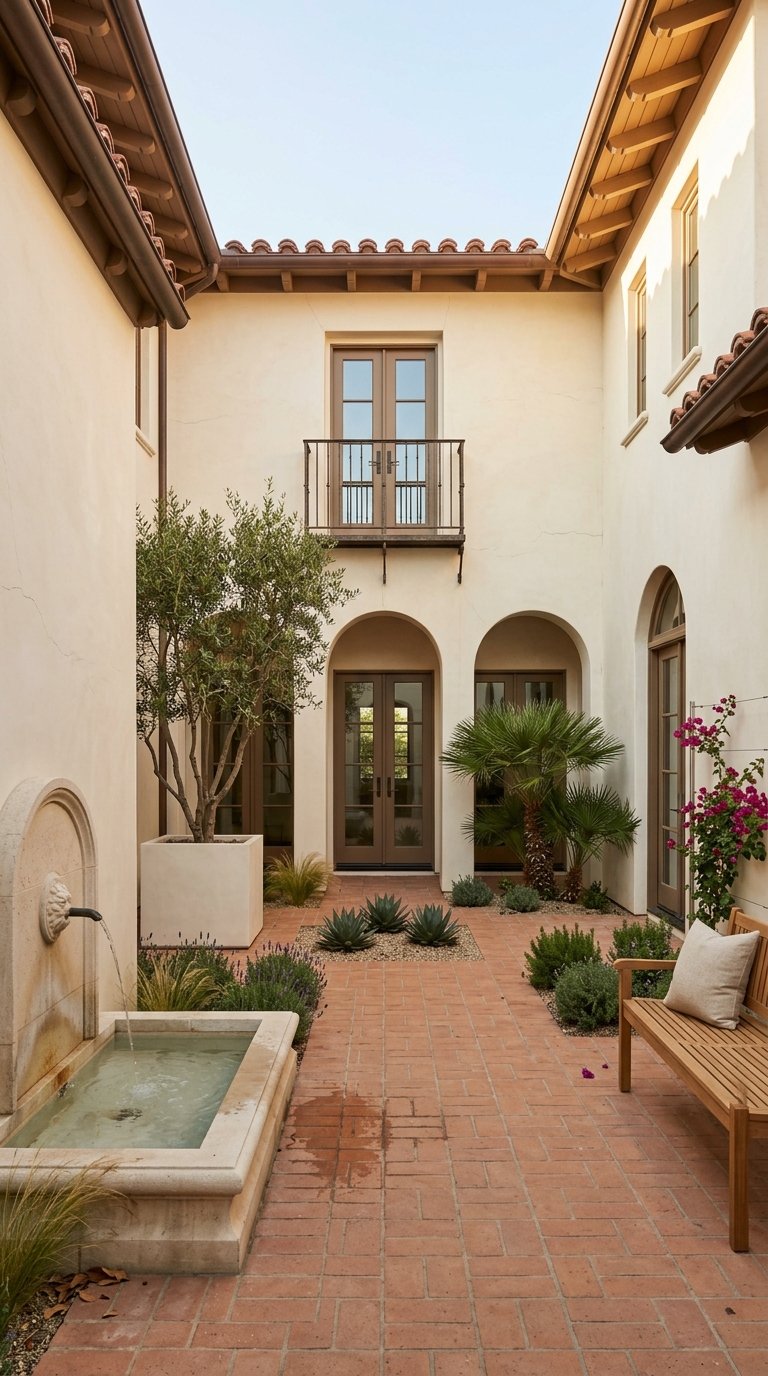
Balconies, patios, and yard
- Set two comfortable chairs, a bistro table, and a durable outdoor rug.
- Add minimal potted plants suited to the coastal microclimate. Explore species through the California Native Plant Society.
- For beachfront or wind-prone spots, consider tasteful privacy screens and sun control.
Garage and utility
- Declutter and show organized storage. Remove salt-caked tools or rusted items.
- Replace HVAC filters and tidy laundry zones.
Condo-specific tips
- Confirm HOA rules for staging, signage, deliveries, and elevator reservations in writing.
- Keep balcony furnishings on the smaller side to meet association guidelines and maximize usable space.
- Feature community amenities with professional photos if allowed.
Outdoor and landscaping the coastal way
Low-water, low-maintenance is a selling point in Southern California. Use compact groupings of drought-tolerant plants in quality pots, and keep irrigation simple and tidy. If you refresh decking or railings, choose materials that stand up to sun and salt.
Buyers also notice drainage and ground-level storage. Clear gutters, confirm downspouts flow away from the structure, and avoid landscaping that traps water near the foundation. If you plan any exterior alterations, check permit needs with the City of Santa Monica.
Photography and virtual staging that convert
- Time your photos to capture the view. For west-facing scenes, morning often delivers softer light. Test on site to confirm.
- Show the flow. Photograph interiors with balcony doors open, and include inside-out shots that connect living rooms to patios.
- Balance exposures. Use HDR techniques to avoid blown-out windows that erase ocean color.
- Consider safe, compliant drone angles to show proximity to the beach and rooftops. Always verify local rules and respect privacy.
- Virtual staging is fine for empty rooms. If you use it, disclose virtual staging per your MLS rules. For local comps and listing norms, check CRMLS resources.
Logistics, rules, and risk management
- HOA coordination. Many Santa Monica buildings limit signage and schedule move-ins. Confirm rules and secure elevator windows early.
- Permits and safety. Structural changes, major landscaping, or drainage modifications may require permits. Consult the City of Santa Monica for Building & Safety or Planning questions. Repair loose railings or aging decks before you list.
- Coastal wear and moisture. Remove salt residue from windows and metal, address any mildew, and consider temporary dehumidifiers for lower-level units.
- Insurance for staging items. Verify your stager’s insurance, and if you are using your own pieces, confirm coverage with your insurer.
Costs, ROI, and the right timeline
Staging costs vary by size, scope, and how long you need rental furniture. Ask for multiple quotes that separate delivery, install, monthly rental, and removal. For general research on staging benefits, review resources from the National Association of REALTORS® and the Real Estate Staging Association. Your best pricing and timing insights will come from recent local comps and how staged listings performed versus unstaged.
Suggested schedule:
- 2 to 3 weeks out: Repair, declutter, deep clean, verify HOA rules, and confirm permit needs. Meet a stager for a plan and estimate.
- 1 to 2 weeks out: Install staging, refresh landscaping, and complete final cleaning.
- Photo day: Capture during optimal light, then handle quick touch-ups.
- Live on market: Maintain the staged condition. If you move out, extend furniture rental until you are under contract.
Quick checklists
Pre-staging checklist
- Confirm HOA and building rules in writing.
- Verify permit requirements with the city if planning exterior or structural changes.
- Schedule repairs, deep cleaning, and HVAC filter replacement.
- Inspect for mildew or salt buildup and remediate.
Photo-day checklist
- Open shades and drapes fully. Clean windows inside and out.
- Hide cords, remotes, and personal items.
- Fluff cushions, set simple table settings, and add fresh towels.
- Stage balconies to read as living space, not storage.
Vendor and contact checklist
- Professional stager with coastal experience
- Real estate photographer skilled in interiors and views
- Handyman or licensed contractor
- Professional cleaner
- Landscaper familiar with drought-tolerant plants
- HOA or building management contact
Santa Monica condo essentials
Condo sales often turn on first impressions, logistics, and amenities. Keep furnishings scaled to the floor plan and focused on view corridors. Verify delivery windows and reserve elevators early to avoid delays. If your building permits it, feature community amenities with clear, honest labeling and professional photography.
Work with a design-led local advisor
You get one chance to launch with impact. A design-forward approach, durable coastal materials, and thoughtful photography can shift buyer perception from good to irresistible. If you want hands-on staging guidance, curated vendor coordination, and an agent who understands both design and negotiation, connect with Johannes Steinbeck for a tailored plan.
FAQs
Should I use my own furniture or rent for a Santa Monica listing?
- Use your own pieces if they are neutral, scaled correctly, and in excellent condition; otherwise, short-term rental staging often better highlights small footprints and coastal light.
How do I showcase a partial ocean view when staging?
- Remove interior obstructions, open window treatments fully, position seating to face the best angle, and add a mirror to reflect the water while noting any view limitations honestly.
How can I balance privacy with showing the view during showings?
- Install simple sheers with side panels so you can open fully for photos and keep partial coverage during showings for comfort and privacy.
Do Santa Monica buyers care about sustainability features?
- Many buyers value drought-tolerant landscaping, efficient windows, solar, and EV readiness, so highlight these features in your staging narrative and listing copy.
What coastal maintenance should I handle before staging?
- Remove salt buildup from glass and metal, clean and reseal exterior wood, clear gutters and downspouts, and remediate any mildew in baths or lower levels.
How do I check flood and sea-level considerations for a property?
- Review parcel risk in the FEMA Flood Map Service, visualize long-term exposure in the NOAA Sea Level Rise Viewer, and consult the California Coastal Commission for policy context.